Discover new ways to add depth to your mix using smart:reverb 2 and its innovative mechanics like the Distance control and cross-channel communication. When mixing music, it’s easy to make something move left and right, but front and back? Mixing for depth has always been less obvious to achieve using your mixing console and even your plugins – which is why we’ve taken on the task of making it easier.
While the perception of depth in a mix relies on a few properties, with smart:reverb 2, it’s simple to dial in using just a single, intuitive parameter. And with inter-plugin communication, different instances on different mix channels swap information that helps make a clean, clear signal with no masking.
In this article, we’ll walk through four examples of how you might use smart:reverb 2 to implement a sense of depth – because with any new technology, seeing it used in context is key.
This is the most obvious use of depth processing while mixing: you have an element in your track that you want to use as the ‘hook’, the focal point of the entire song. Therefore, you want to make sure that it sounds upfront, and that it’s not getting beaten back by the rest of the elements in the mix.
Here we have a simple mix with drums, bass and keys. Our drums provide the foundation, so don’t need to be in-your-face, but out of the bass and the electric piano, to start with, neither is the dominant one.
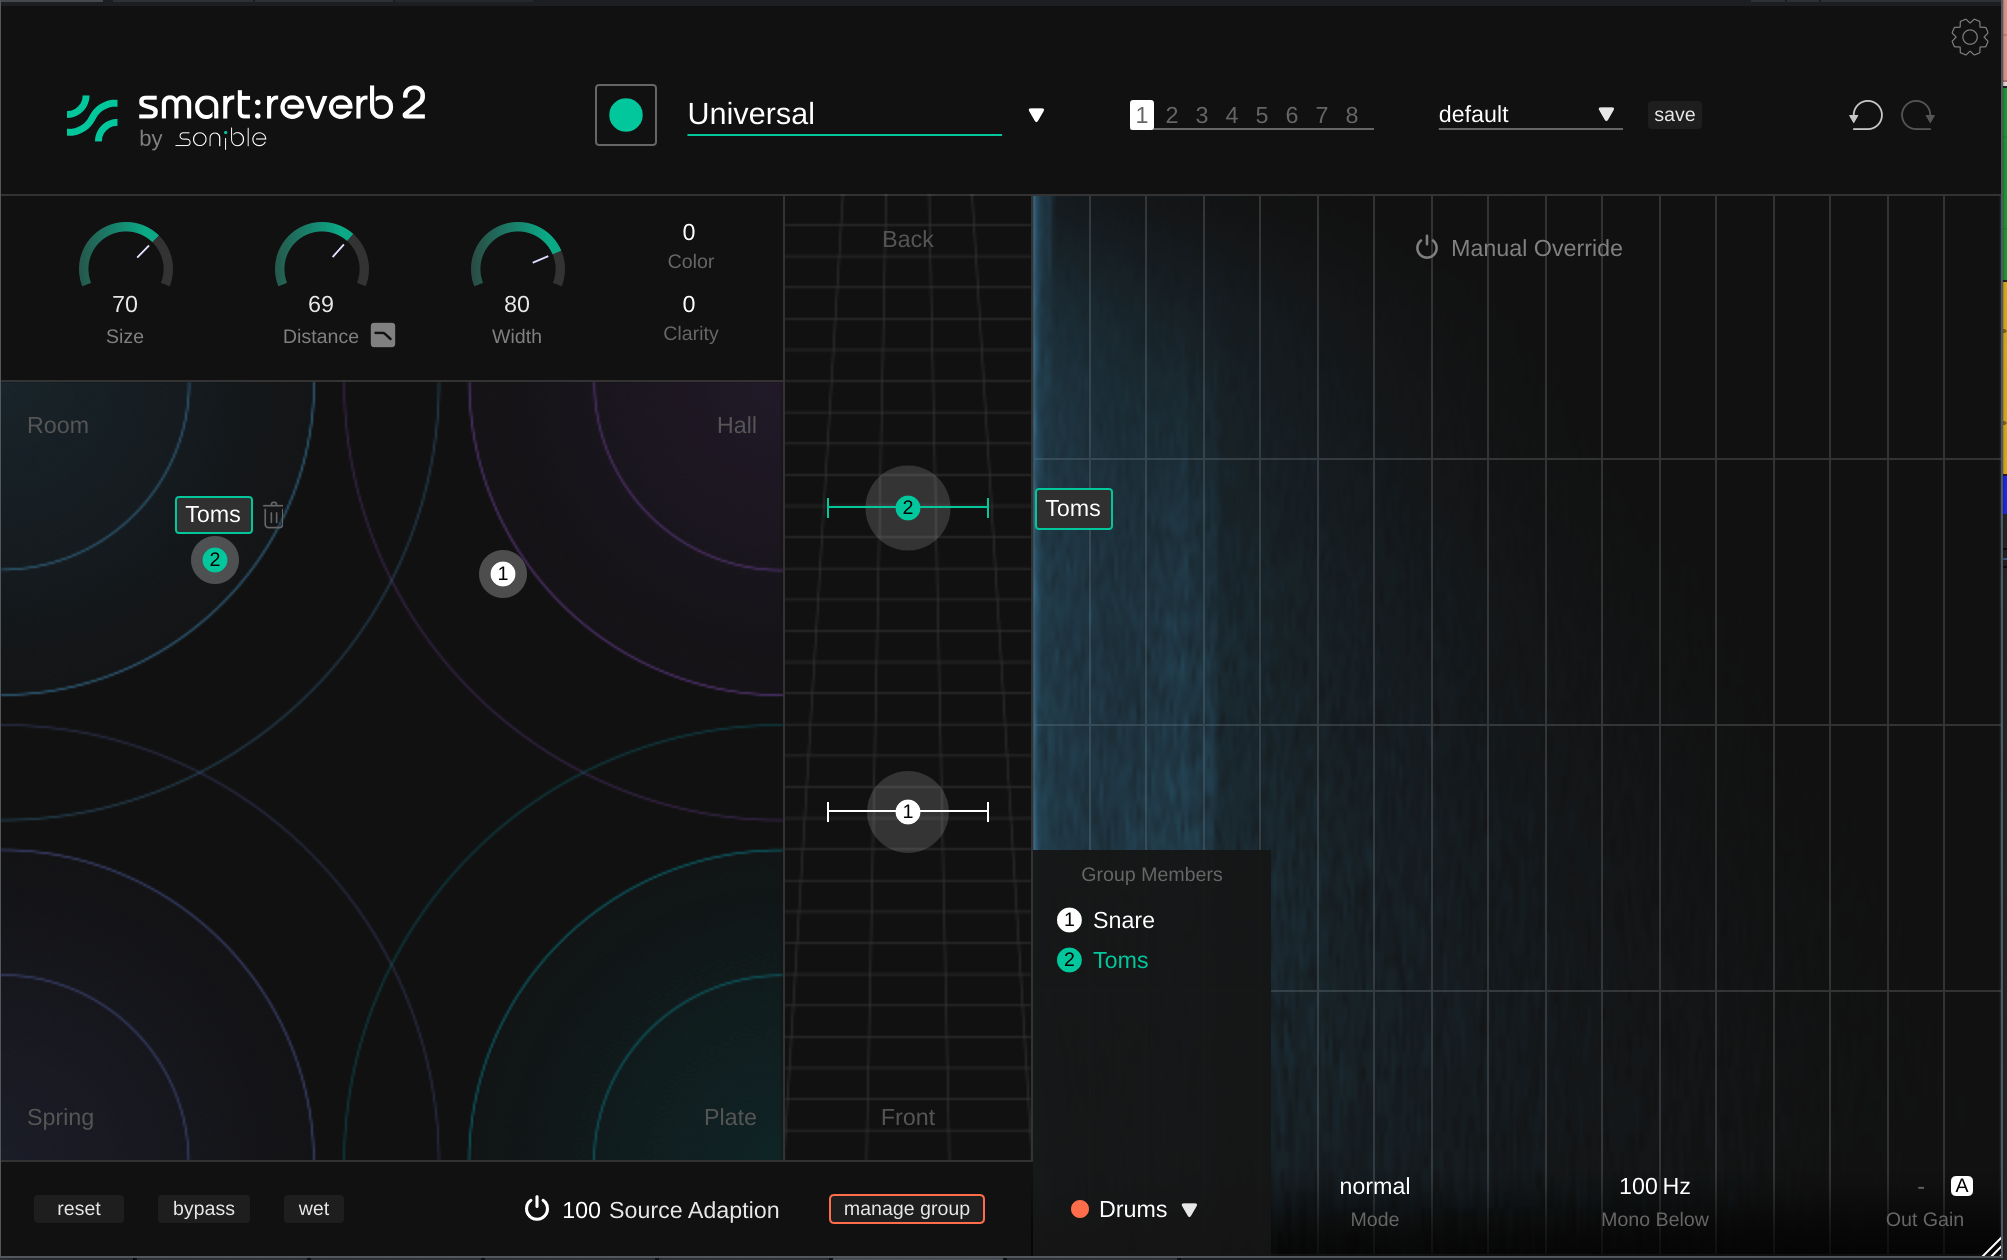
We load up smart:reverb 2 on both the bass track and the keys track. With each smart:reverb 2 instance, we analyze the content of the track, which lets the plugin generate an appropriate reverb response that’s tailored to the signal and the instrument. 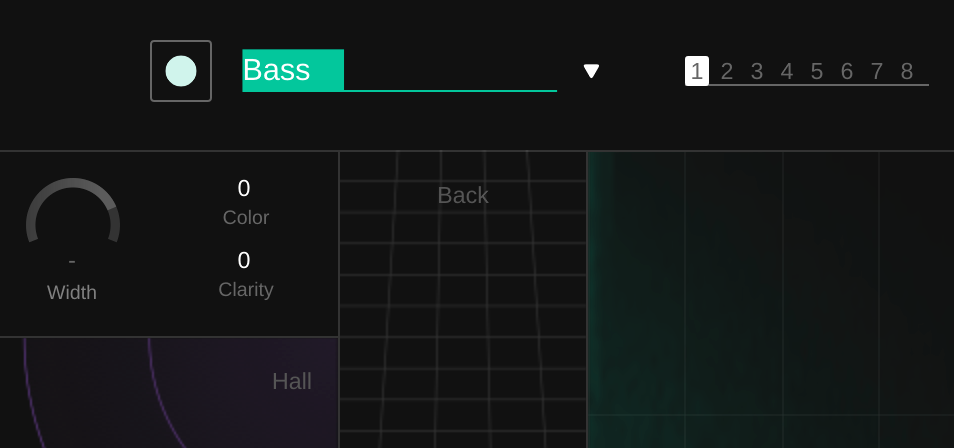 If we add both of the smart:reverb 2 instances to the same Group (which you can do from either plugin instance), the two instruments both appear on the vertical ‘Front to Back’ slider, where we can set their distances and their widths, while keeping things clean.
 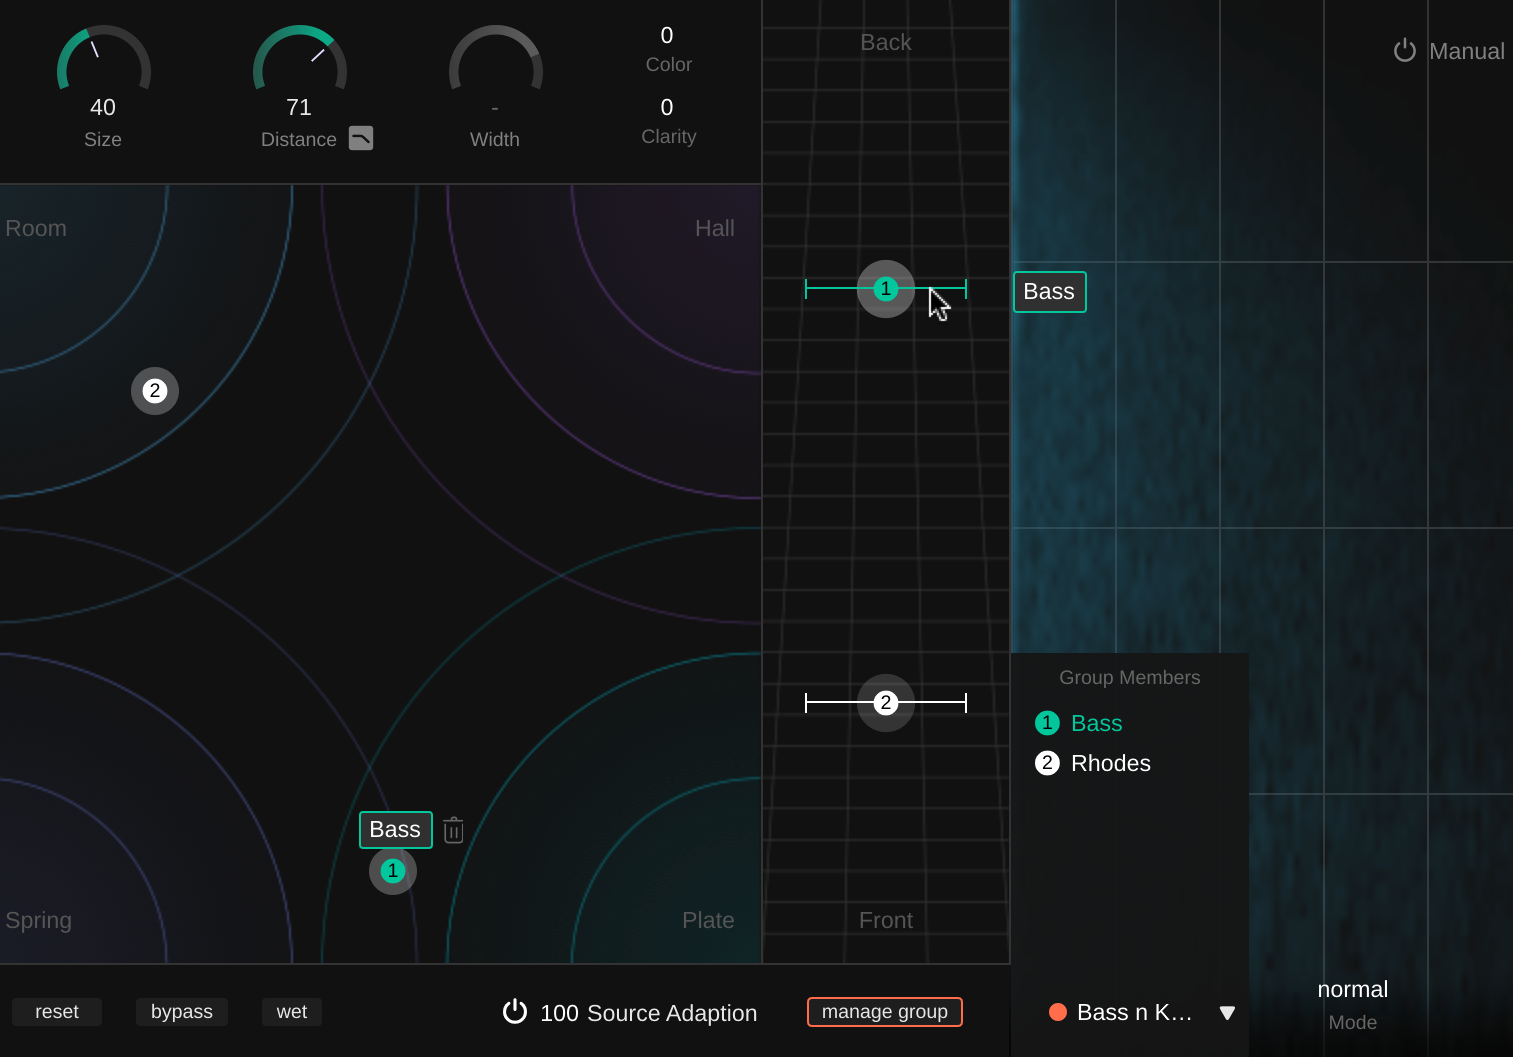 This is all it takes to push one element further back and bring the other one more upfront. You can hear the result below.
Next we move to a complicated arrangement of male and female vocals. Each has a ‘main’ vocal channel, two ad lib channels, and more than one harmony channel, but it’s not immediately obvious which is which, from listening to the unmixed tracks.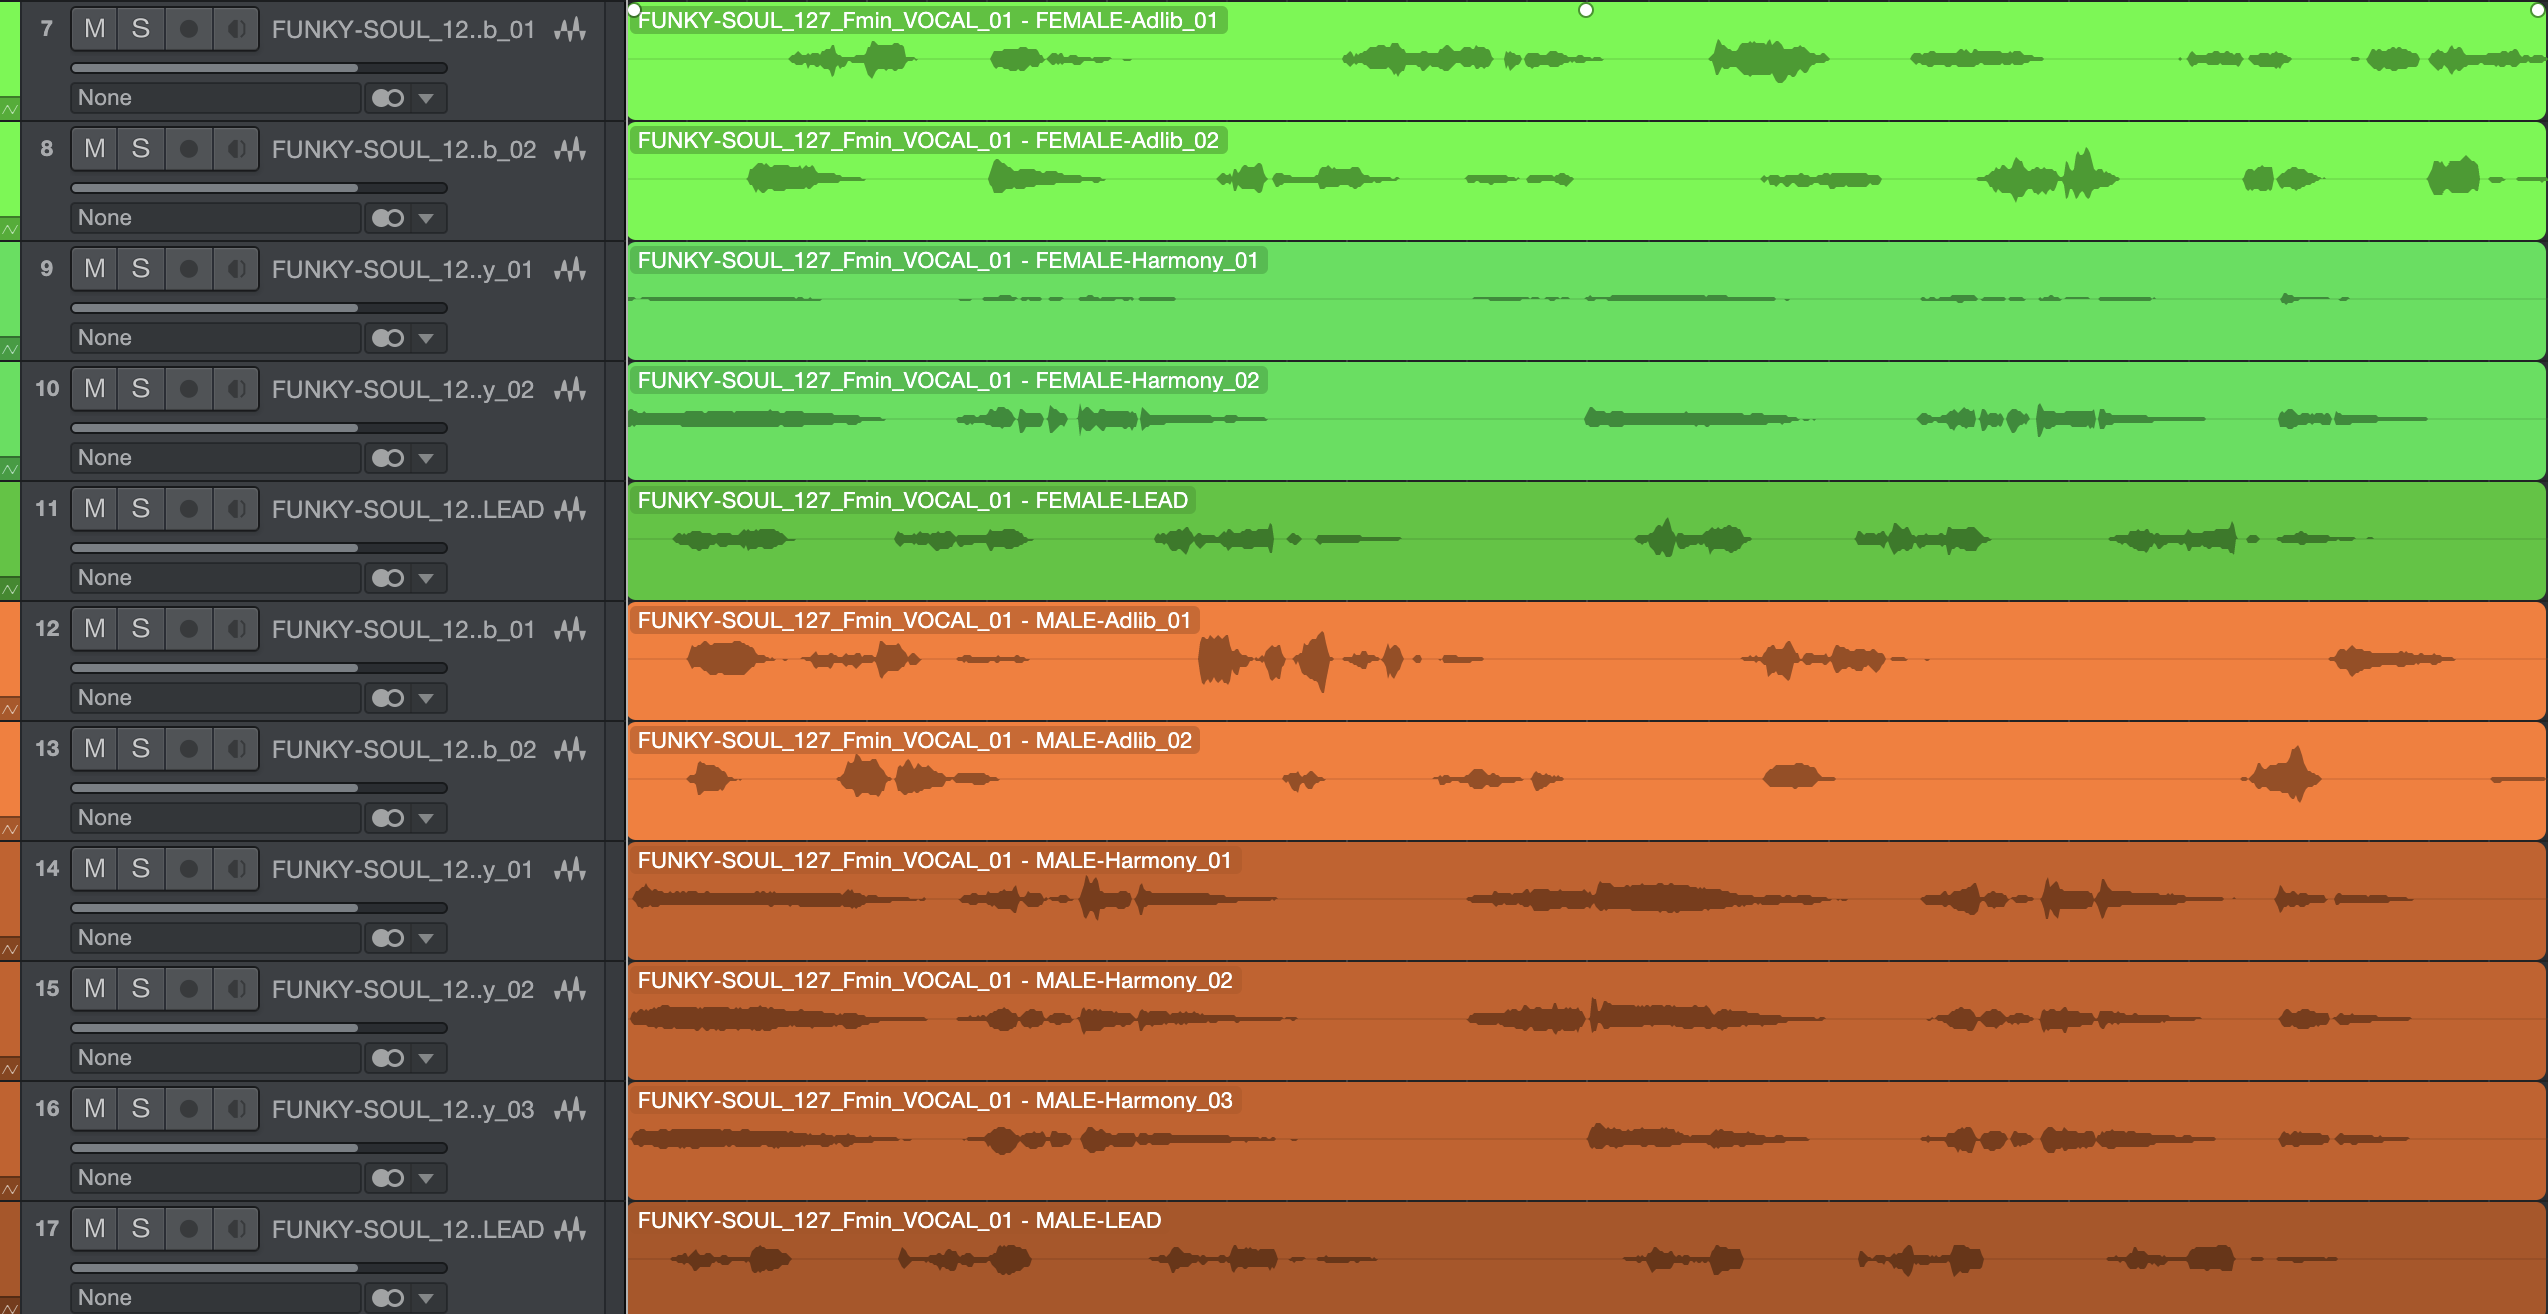 We should help our listeners to grasp which voice to pay most attention to, and which to perceive as supporting elements. Depth is a great cue to give to help that. Here’s what the elements all sounded like together when first imported into a project.
We start by routing the different channels into output buses (Lead, Ad Libs, Harmonies), to manage them together.
We add smart:reverb 2 to all three channels, and use the AI-powered analysis to create a reverb profile from each source.
For our lead vocals, we bring the Distance parameter more towards the front, which gives these vocals more presence ahead of the reverb.
 We place the Harmonies and Ad Libs further back, but keeping the harmonies wider, to contribute their energy around the stereo field.
In our DAW example, we have a simple drum kit project. Usually, the kit as an element will be mixed in order to ‘position’ it in one space. The individual kit elements like the snare, hi-hats and toms may be in slightly different pan positions, but you wouldn’t expect the whole kit to have been broken up in post production and shifted around the entire 3D space. But that’s exactly what we’re going to do here.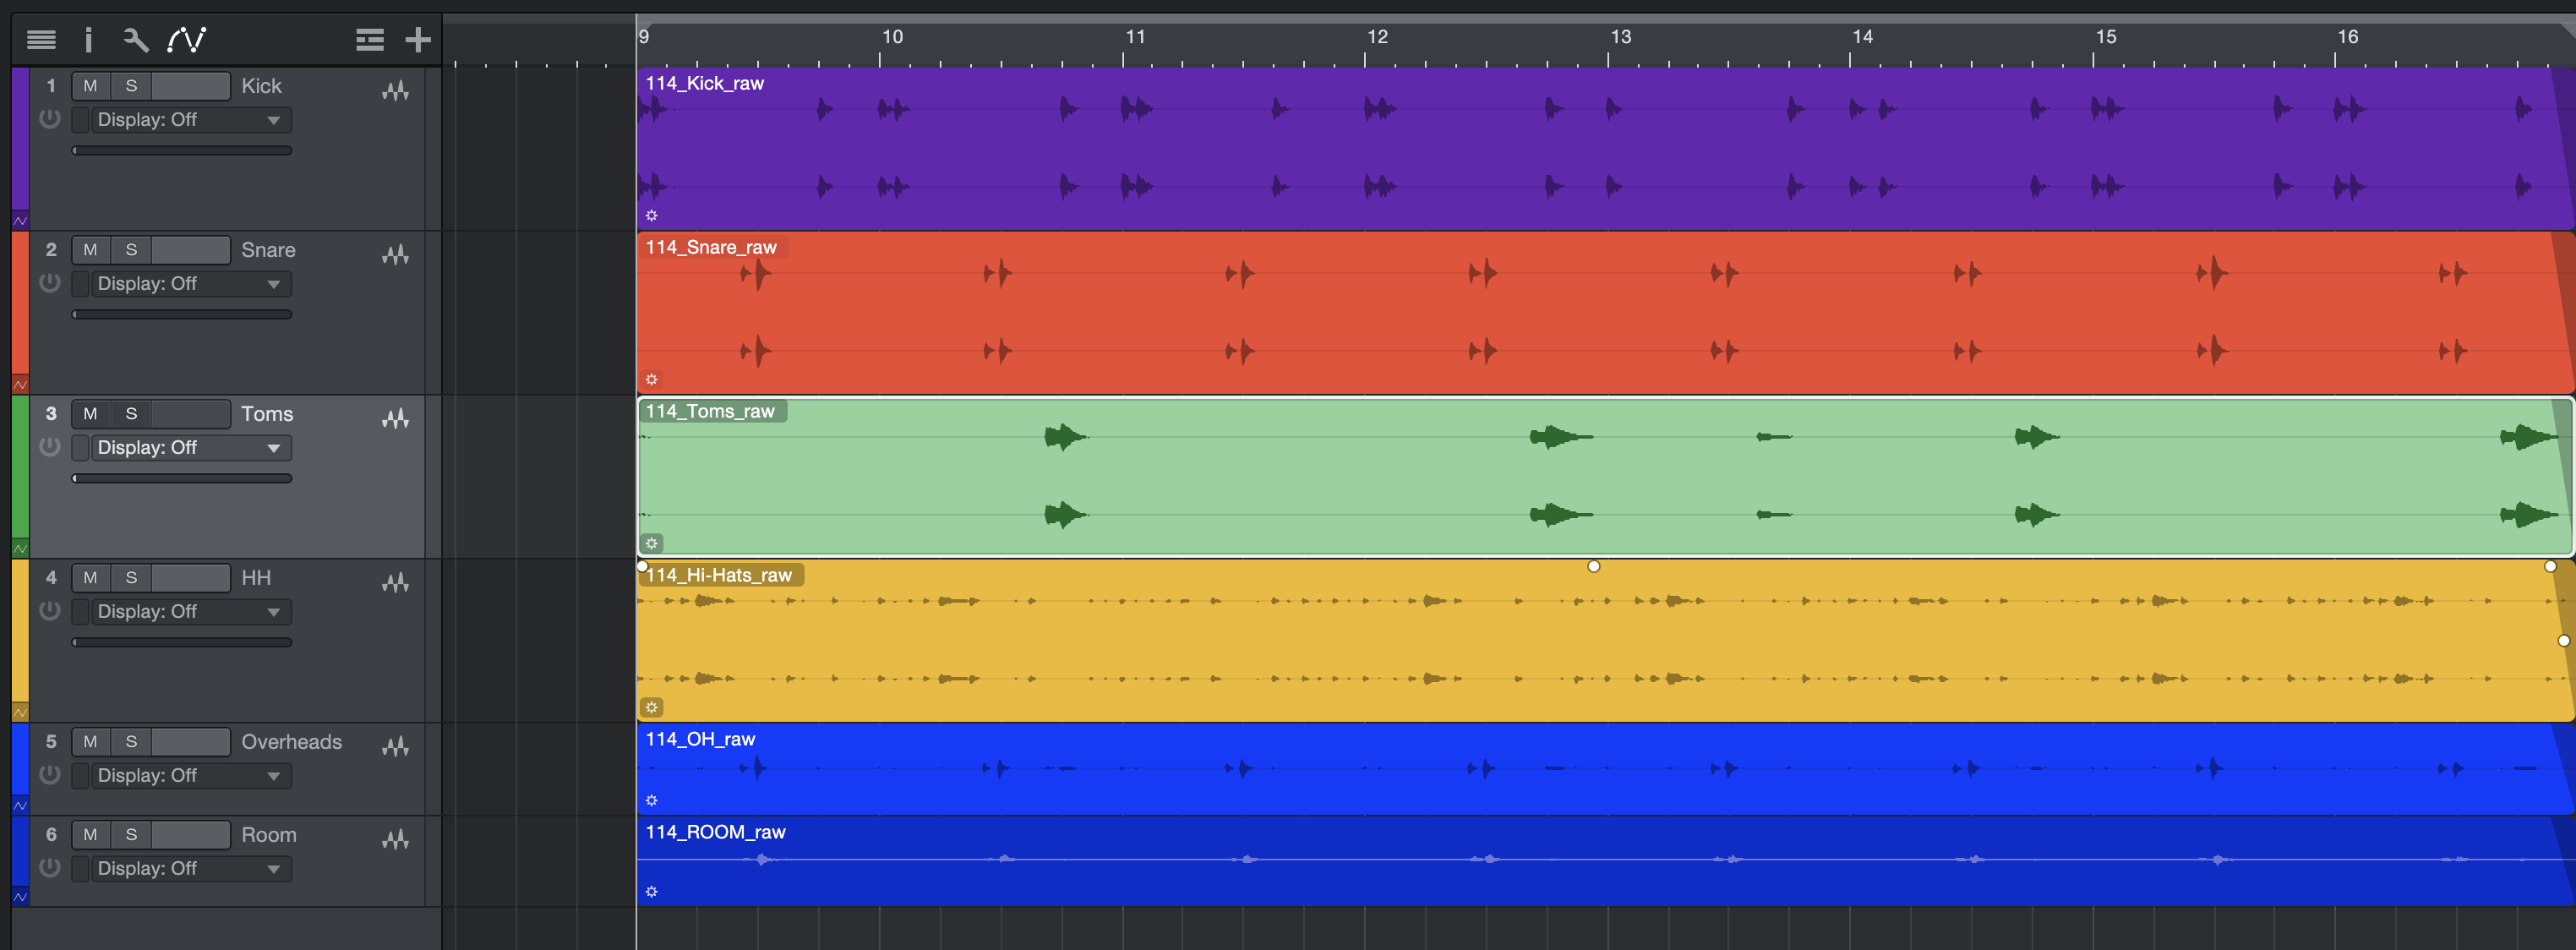
We have a kick, a snare, some hi-hats and a tom, as well as the overhead and room microphone recordings. Our mission here will be to make the snare upfront, push the kick and toms into the background, and leave the hi-hats in the middle – although their relative levels should have them all co-existing together.
Here’s the original mix of the kit, our starting point…
We can start by EQing the snare using our DAW’s stock EQ. For a more upfront sound, we increase a high shelf over the snare.
We also try some compression using smart:comp 2, but the perception of the effect is that the snare moves further back in the mix, perhaps due to a new contrast with its own reverb in the Room channel.
Next, we add a new layer of reverb using smart:reverb 2, analyze the signal’s content and then set up a wide, Hall-style reverb.
For the kick, getting the feeling of being further back in the mix is simple by just using a high-cut (low-pass) filter, and a subtle reverb after it. Putting reverb on bass frequencies can be a risk, but we keep things stable and refined for our experiment.
The toms also benefit from smart:reverb 2 to send them back in the mix, this time with a balance more towards a Room reverb style while the Snare stays on the Hall setting. On the mix console level, we also bring the toms’ fader down to make them quieter overall – which we don’t necessarily get the chance to do with the kick, as it would disrupt the actual mix. This has the biggest effect on the toms’ perceived depth.
Finally, for the hi-hats, balancing between the original track and the room/overhead ambience is instrumental in pushing them back, but we also add some very quick reverb from smart:reverb 2, set to a small room Size and a type set between Spring and Room flavors.
The result of all three ‘staged’ drum kit elements, from front to back, as audible below.
In this example, we have three layers making up our chords, and each is contributing a different piece of character to the overall sound: the flute contributes a high, sustained note; the synth provides a complex note onset, and the piano has a gentle sustain. We’ll attempt to move each of the three onto its own footing – front, middle and back – now.
We’ll start by putting that constant flute into the background, analyzing its signal in smart:reverb 2 and then moving its Distance parameter back fairly far away. Next, a low-pass filter takes the tops off the flute sound and pushes it into the background.
The synth layer can be moved into the middle position, partially using its Distance control again, but also by removing its highs but also by adding some reverb, this time set between a blend of room and spring.

Next, we bring out the piano sound that was almost hiding in the three. There’s space in the high frequencies for it to pop out now the other chord sounds have been dulled. We don’t need this layer to contribute reverb, as the other layers are present playing the same chords in similar octave ranges.
Here’s how the three chord layers sound when separated more into their front, middle and back positions.