Quickly increase the power of dialogue and voice recordings with this guide.
Making your dialogue or voiceover loud in your YouTube videos is very important to get people engaged. YouTubers can often agonize over making the visual component of their videos pristine, and in the process audio can fall by the wayside. However, audio is just as – if not more than – important as your video’s visuals. Quiet or inconsistent voiceovers can be annoying for viewers, who may be required to adjust their device’s volume settings.
Fortunately, there’s an easy fix. In this article we’ll take you through how to make a YouTube voiceover louder, and how to help make voices stand out in your videos.
For the purposes of this article we will be working in Premiere Pro, but all of the information in this guide is applicable to most NLEs or video editors including: Final Cut Pro, Davinci Resolve and Media Composer. And all the techniques demonstrated can also be employed to make voiceovers louder for any video platform such as TikTok, Instagram and Facebook.
The first step to making voiceovers louder and better is to identify where the volume-related problems lie.
Here we have a test voiceover recorded into Premiere Pro.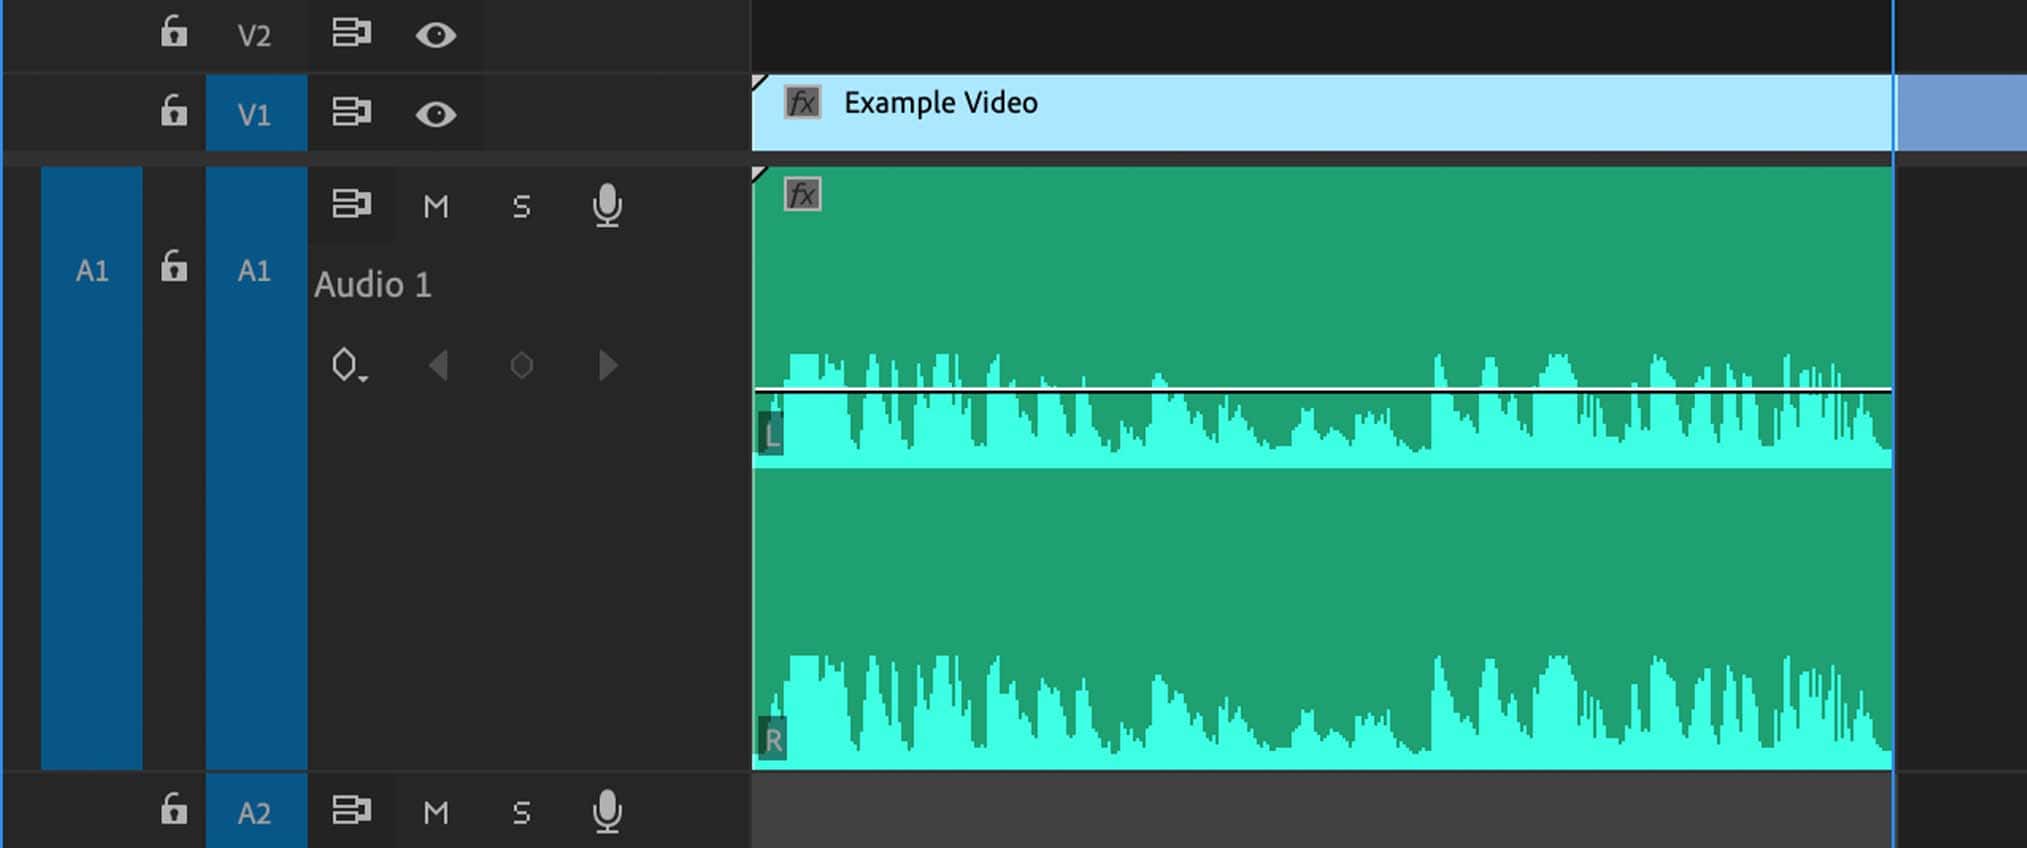 Already, just by looking at the waveform of the voiceover we can see that there are some inconsistencies in the volume of the voiceover.
If you listen to the recording, you’ll be able to hear this fluctuation in volume.
This is something we can easily fix with a compressor such as sonible pure:comp. We’ll show you how to do that later.
Right now let’s continue to identify problems with the audio. If we keep an eye on the audio output meters in Premiere Pro as the audio plays you’ll notice that the audio is peaking far below 0dB which is the maximum volume the audio can be without distorting.
For a precise numerical readout of the volume of the voiceover go to Window > Audio Clip Mixer in the toolbar. This will open the track mixer which has per-track metering. Our example voiceover is peaking at around -12dB – Far too quiet!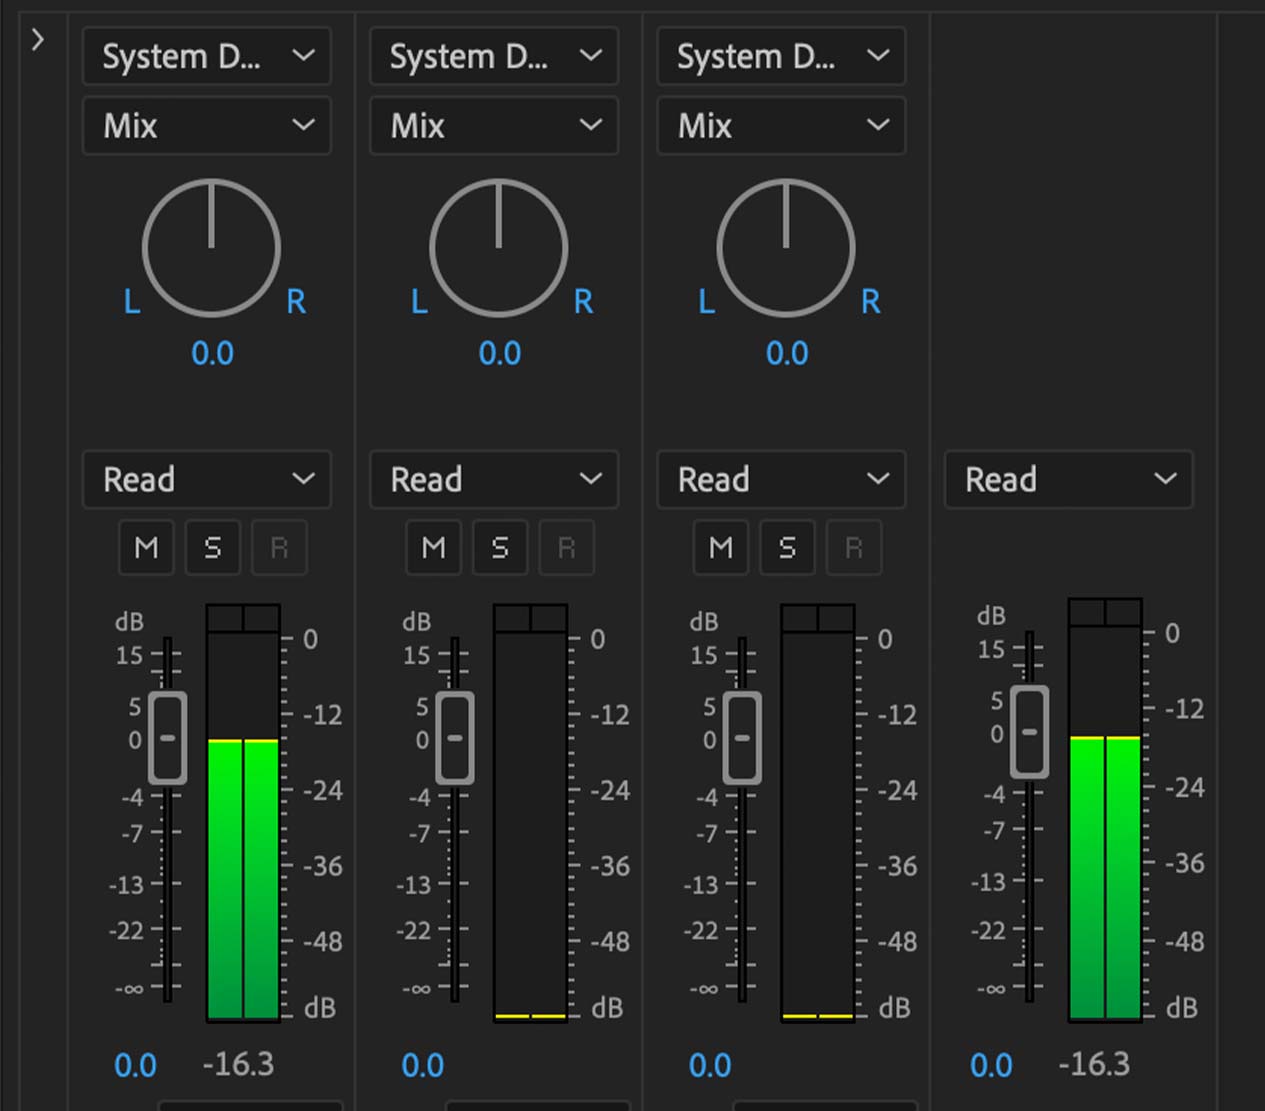
The best tool to make audio loud and consistent in volume is a compressor. Compressors come in all shapes and sizes and can vary in complexity greatly. Luckily there are some very easy-to-use options out there that are well suited for creators with a limited level of audio knowledge.
But first things first, what is a compressor? Essentially, all it does is reduce the range between the loudest and quietest points in your recording, giving a more consistent level of volume.
pure:comp offers intelligent, AI powered one-knob control over your sound. It’s quick and easy to use. The plugin listens to your voiceover and then automatically applies the best compression settings to your audio using AI.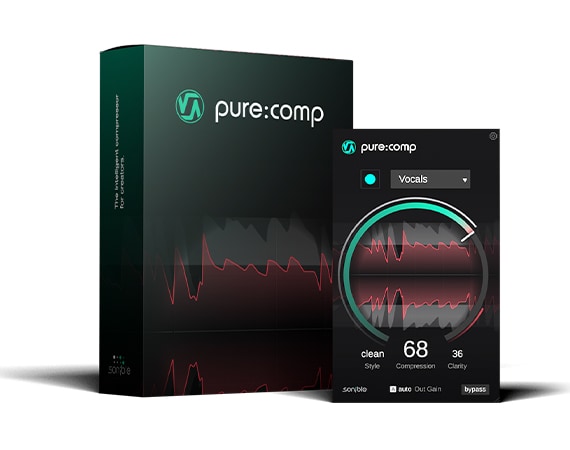
You can demo pure:comp for free for 30 days, so you can follow along with this tutorial for no cost.
To use pure:comp to make your voiceovers louder, first you have to install and load the plugin in Premiere Pro. Read the below section to learn how to do that or – if you already know how to use plugins in Premiere Pro – skip ahead to the next section.
It can be a bit confusing to work out how to use third-party plugins such as pure:comp in Premiere Pro. Fortunately it is very simple.
First, you need to scan for plugins. To do this go to Preferences > Audio in the toolbar. Next, click the Audio Plug-In Manager button at the bottom.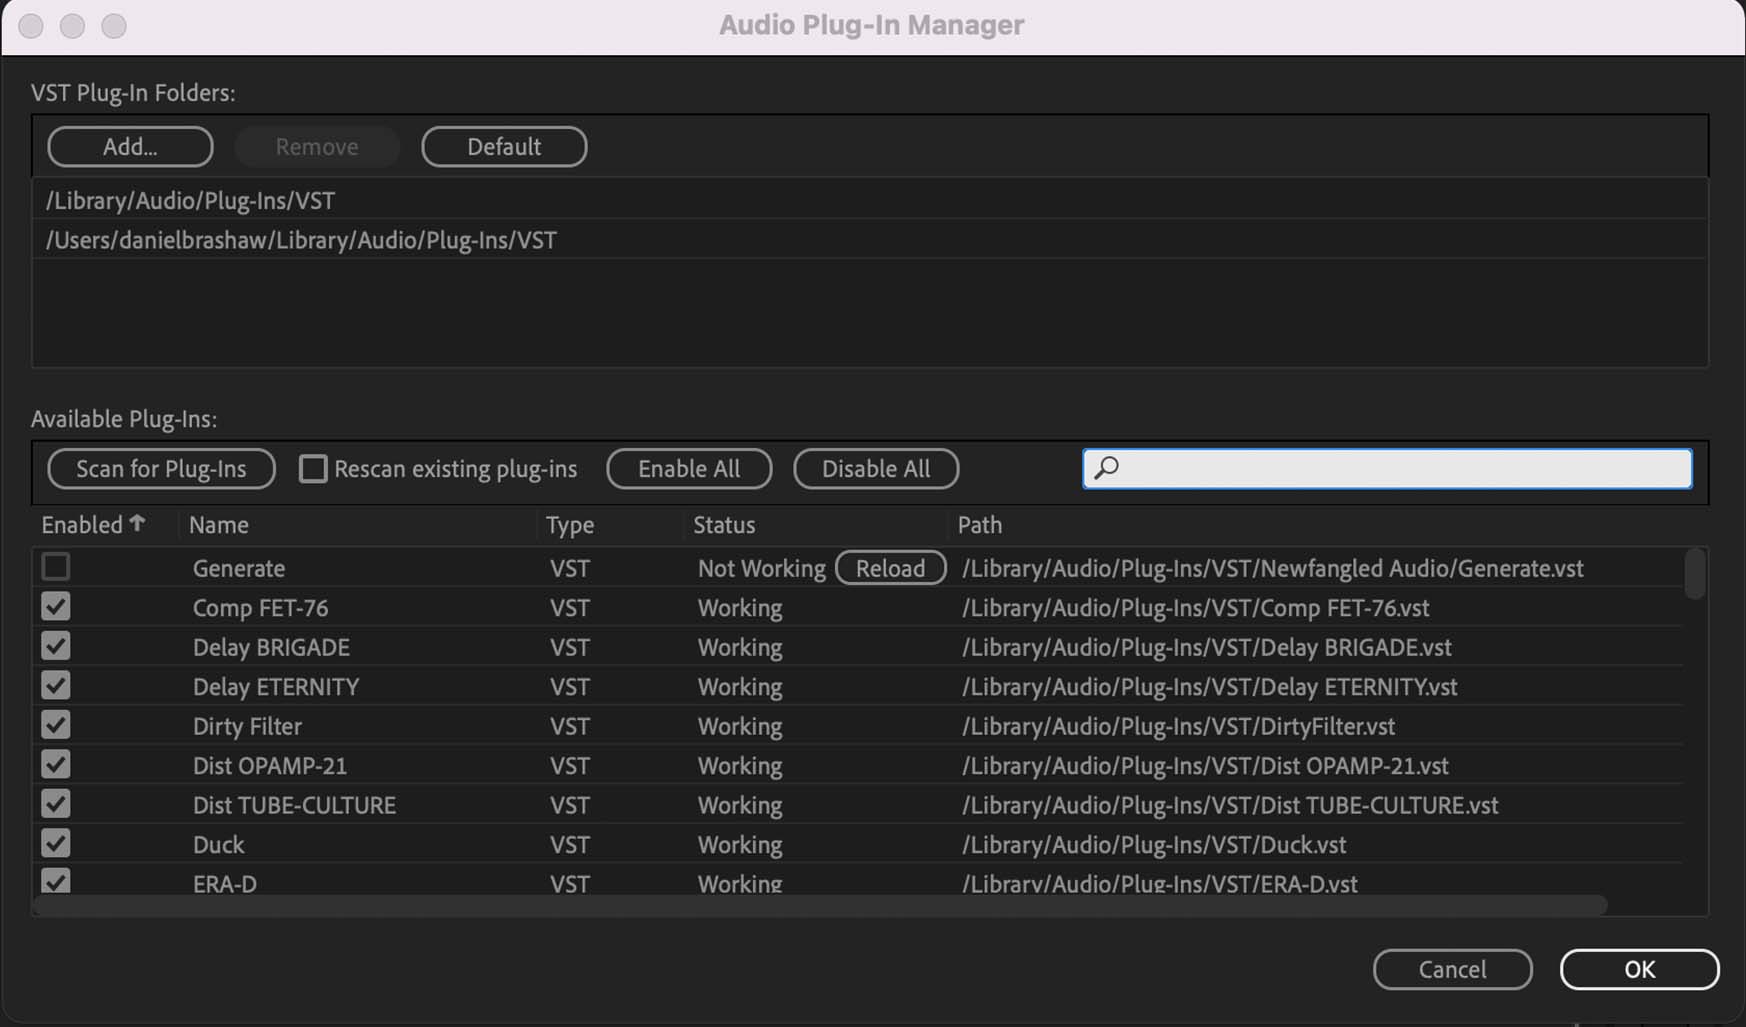 With the Audio Plug-In Manager open, click Scan for Plug-Ins. Premiere Pro will now scan your plugin folder so you can use all your third-party audio effects in Premiere Pro.
To then use a plugin – such as pure:comp – go to Window > Effects. Then, in the Effect window open the Audio Effects sub folder and navigate down to the VST or VST3 folder. Both will contain pure:comp.
You will find sonible pure:comp under the Dynamics category.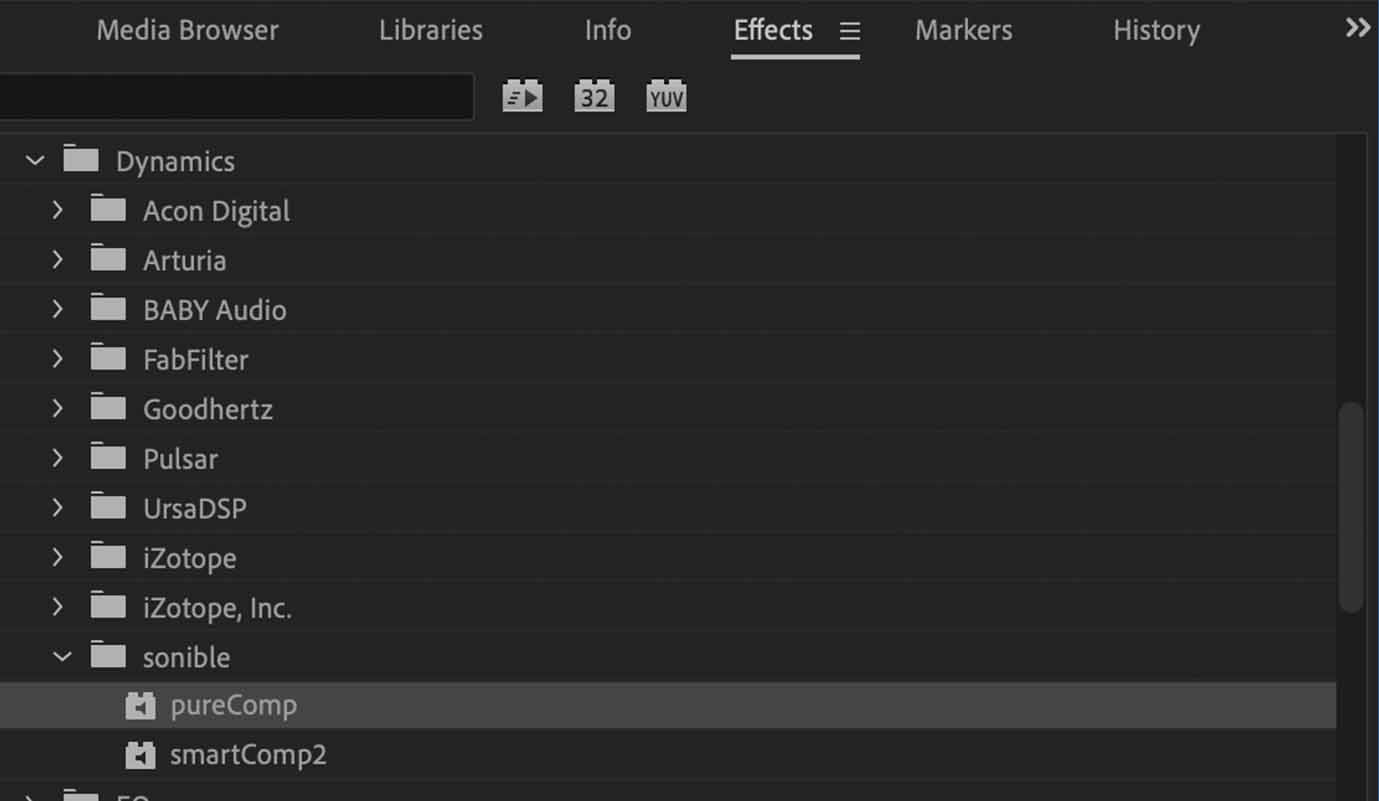 To use a plugin, just drag and drop it from the Effects window onto the audio clip you wish to process.
Once pure:comp is loaded on our clip, we can access the plugin’s controls by opening the Effect Controls panel via Workspace > Effect Controls.
Below the Volume and Channel Volume section you will see a pureComp section
Click the Edit button under Custom Setup in the pureComp section of the Effect Controls panel. This will open the plugin UI.
You will be presented with a message reading “Playback audio and click record button to get started”.
pure:comp works by listening to your audio, analyzing it and then uses sonible’s AI technology to apply the best compression settings for your audio.
To get started, press the green record button in the pure:comp interface and then play back your voiceover in your Premiere Pro project.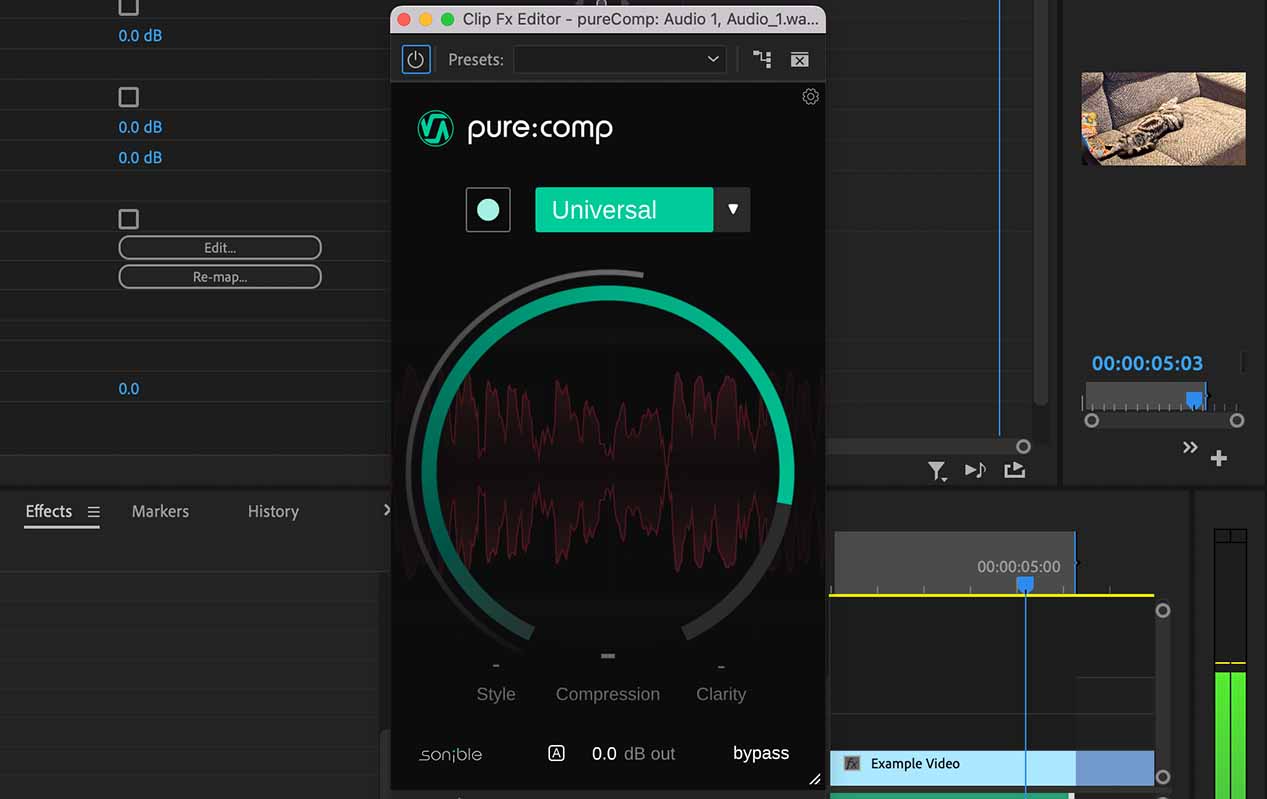 After listening for a few seconds, pure:comp will apply compression to your audio. You should already notice your audio sounding louder and more consistent in volume, however we’re not done yet!
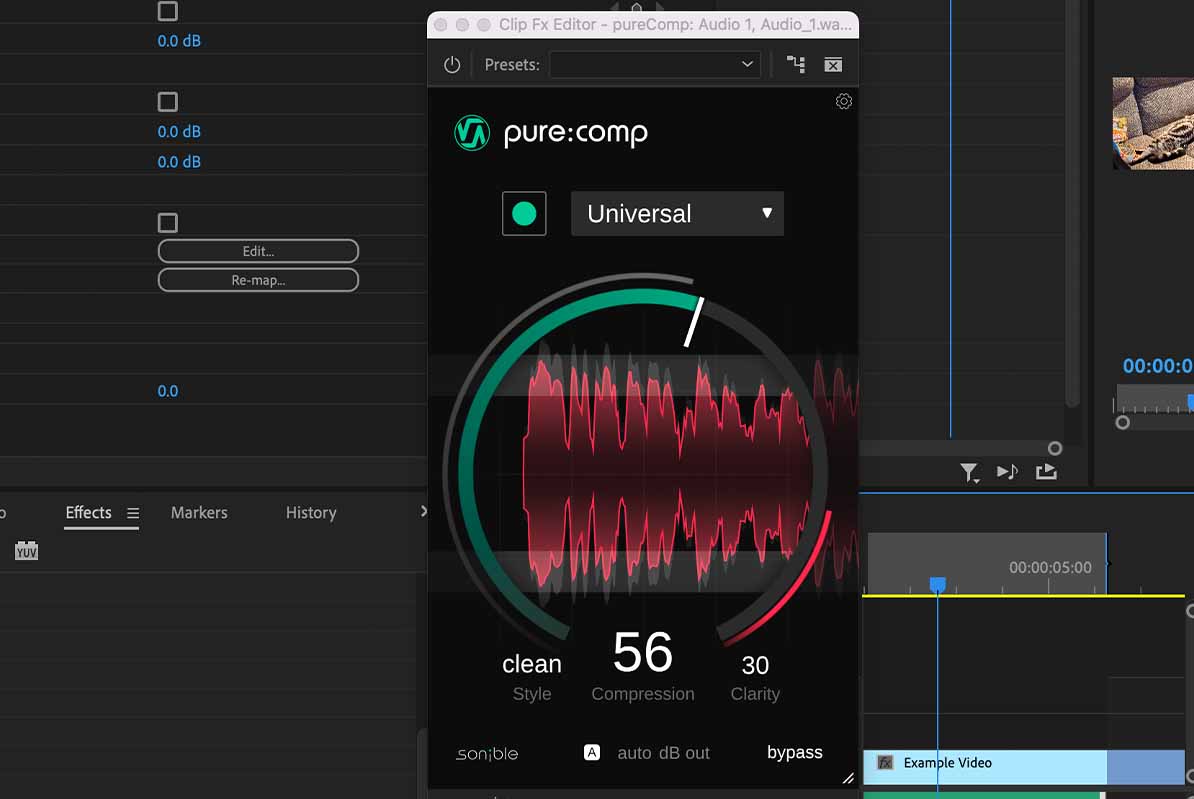 Next to the record button in the pure:comp interface is a dropdown menu. In this menu you will find a list of different profiles such as Drums, Synth and Vocals. By selecting a profile, pure:comp will apply compression setting best suited to that particular profile.
For a voiceover select the Speech profile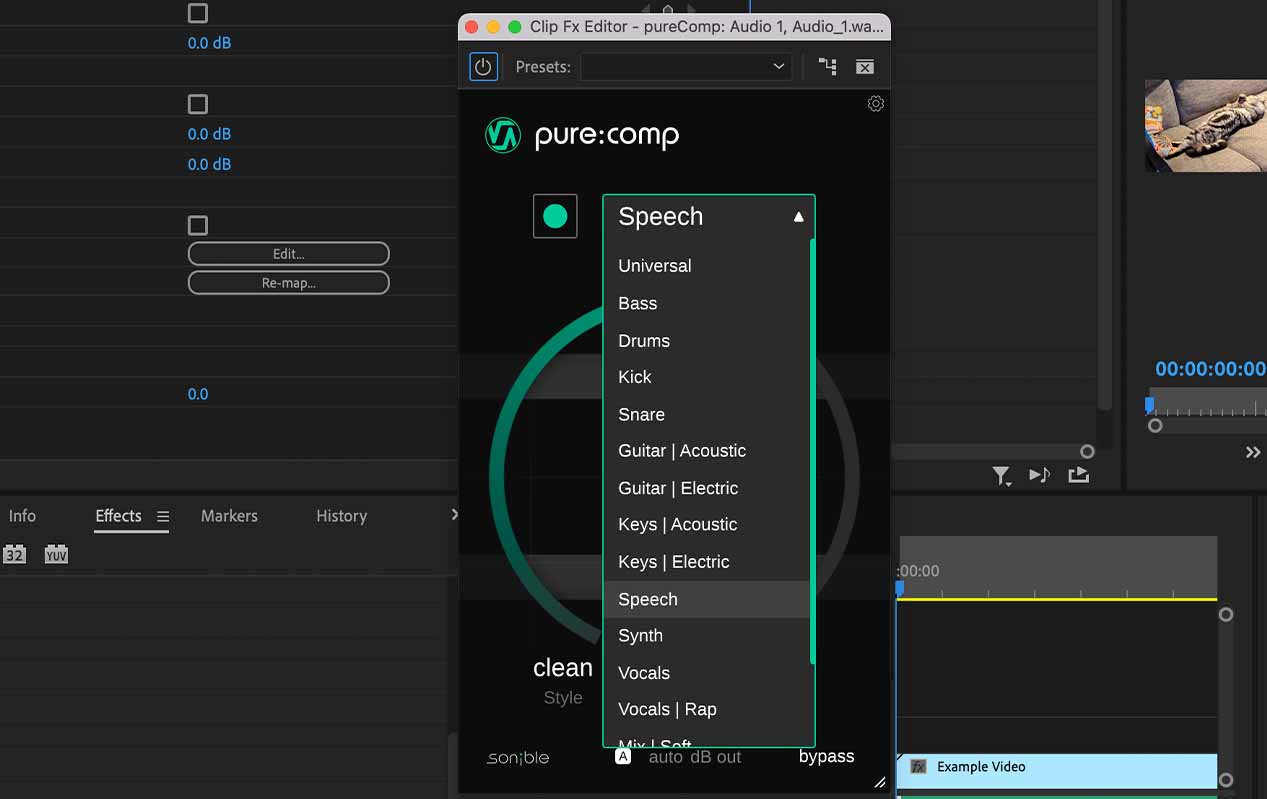 The compression we have applied using pure:comp has smoothed out the volume of our voiceover, giving a more consistent sound. However, in our example we still need to increase the overall volume of the voiceover, so that its peak volume is close to – but doesn’t exceed – 0dB.
This is easily achieved with pure:comp. At the bottom you will see a small button labeled A. This is the auto gain button. By default auto gain is enabled, meaning that pure:comp will make up for any reduction in volume applied by the compression engine. However, we need to boost the volume of our voiceover beyond the initial recording.
To do this, turn auto gain off by clicking the A button. We can now drag the dB out number up and down to alter it, or click on it and type in a number to make precise adjustments.
Our audio was sitting at around -12dB, so lets boost it by 12.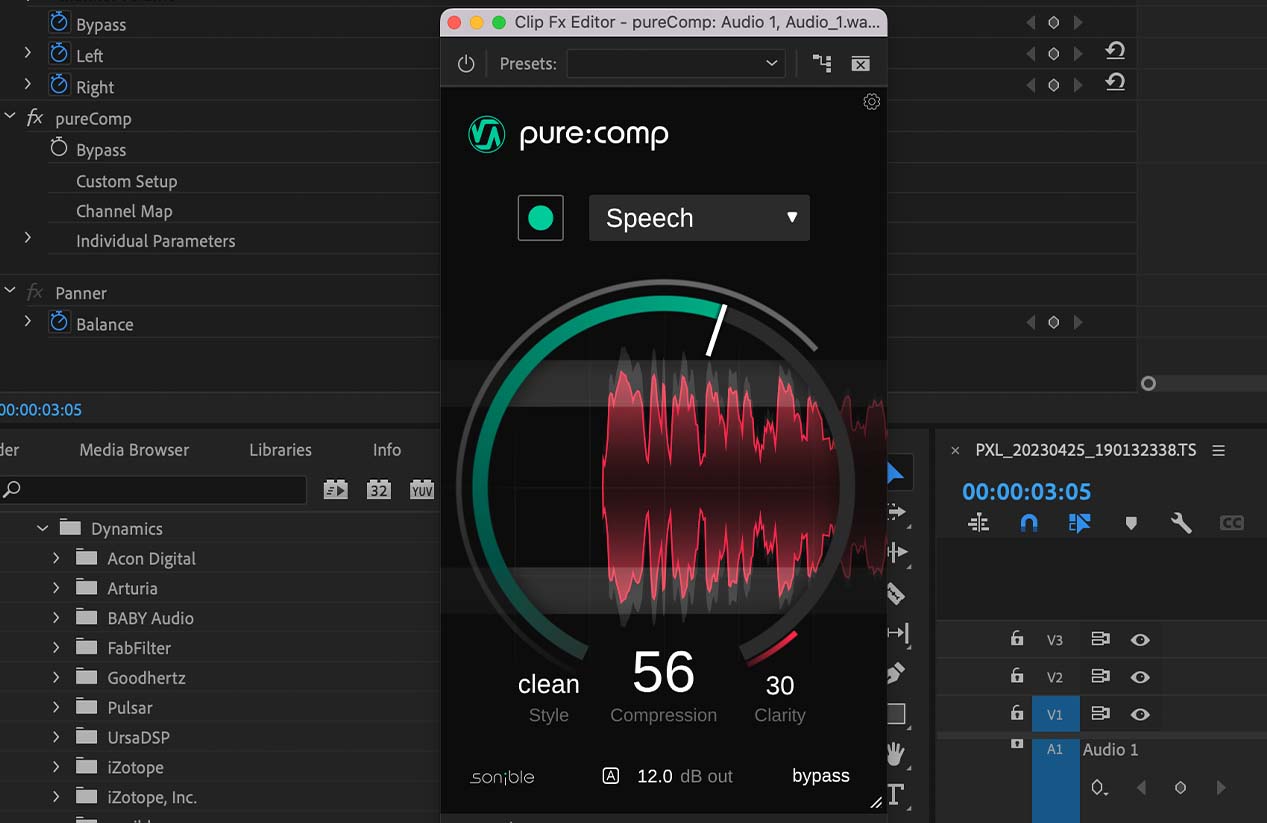 That’s much better, our voiceover is louder and more consistent in volume throughout.
Let’s listen to our audio signal to compare before and after.
Here’s how the voiceover sounded before:
And here’s how it sounds after using pure:comp:
When boosting the output gain of pure:comp, be sure you don’t clip your audio. Clipping occurs when you push an audio signal beyond 0dB causing digital distortion to occur in your audio. You can visually make sure this isn’t happening by opening the Audio Clip Mixer and checking that the audio signal never goes above 0dB.
An easy way to make sure your audio never clips is to use a limiter after pure:comp. pure:limit is an easy to use one-knob option that stops any audio surpassing 0dB so you never have to worry about clipping.
As mentioned before you can use pure:comp to make voiceovers louder and more consistent in any video editor like Final Cut Pro and Davinci Resolve. You can also use it for podcast editing in audio editors and DAWs such as Garageband, Logic Pro and Ableton Live.
If you’re looking for more advanced audio editing tools be sure to check out sonible’s smart range of EQs, limiter, compressors and more. These professional level plugins use sonible’s powerful AI algorithm in a more advanced user interface giving the user much more precise control and a wider, more advanced range of parameters.
For a detailed guide on improving recordings of the spoken voice, check out our guide on Improving Podcast Audio With A Few Tweaks on our blog. In this article we use smart:EQ and smart:comp to add a professional edge to dialogue, applying similar rules in a different context.