How do you use the main features of smart:comp? Well, we show you how to initiate the automatic parametrization and spectral compression. Furthermore, you’ll find out more about the profiles and the smart auto gain.
Note: We replaced smart:comp with smart:comp 2! The spectro-dynamic compressor now sports sound-shaping option, an entire range of new profiles (single tracks, buses, mixes), a free-form transfer function with compression templates, states, mid/side processing, … and much more.
By taking the example of a female singing voice, we’ll show you what smart:comp’s main features can do and how you can use them.
Watch the video tutorial or find step-by-step instructions below.
Step 1: Start the learning
Choose one of the included profiles to calibrate smart:comp’s processing to your specific sound source. If you can’t find one that fits your audio material, simply choose the standard profile.
Then, start the playback and click on the learning button.
Once the analysis is finished, smart:comp will automatically set suitable compressor parameters for your signal.
Step 2: Adjust your results
Adapt the parameters to fit your vision – or return to the recommended settings, by simply pressing the smart state button.
Step 3: Adjust the spectral compression
During parametrization, smart:comp activates the spectral compression. It dynamically smoothes out tonal imbalances.
You can change the intensity of the spectral compression as well as limit the affected frequency range.

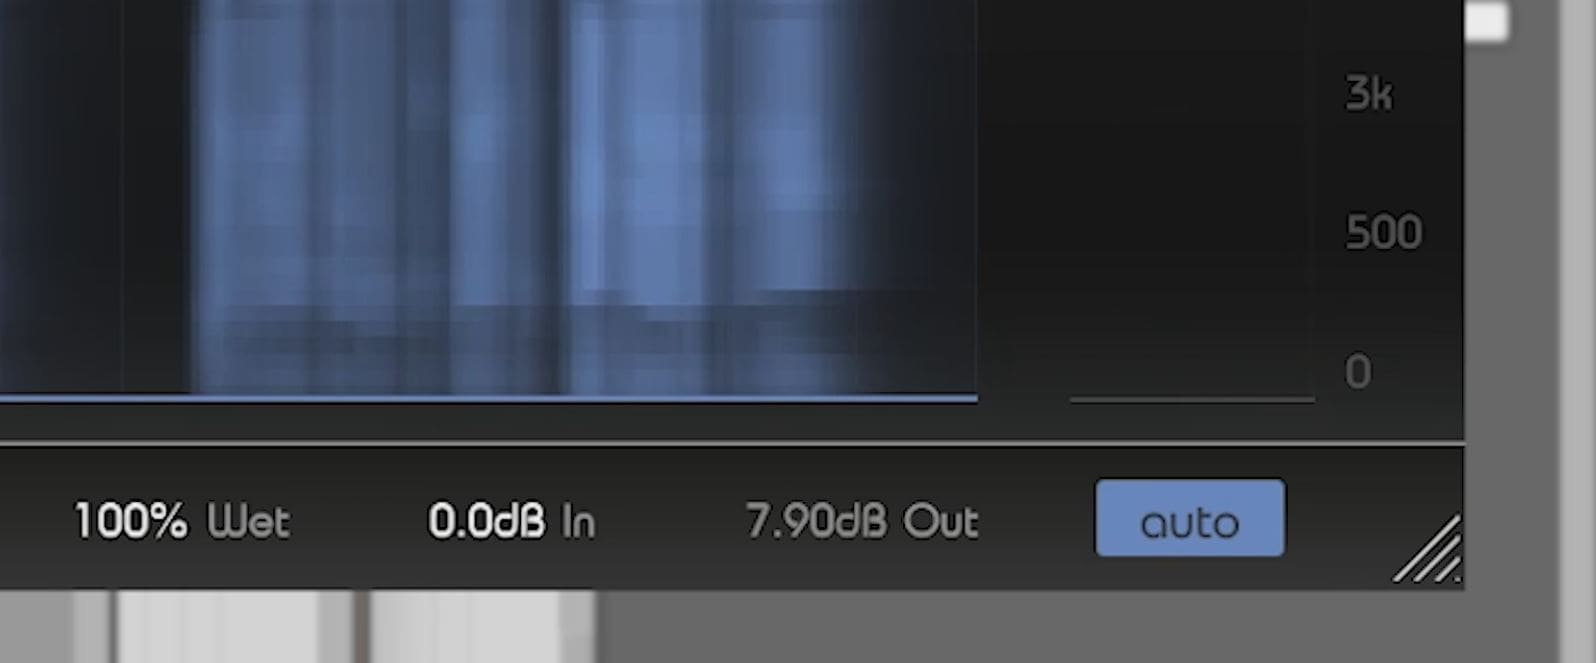
Step 4: Use intelligent auto gain
Be aware that smart:comp comes with an intelligent auto gain, guaranteeing a perfect matching of the perceived loudness of input and output signals. Auto gain will be enabled after learning is finished, indicated by the auto button turning blue.