Have you ever considered the causes of sibilance in audio engineering? As it turns out, it’s not even an artifact at all.
De-essers are common tools in any producer or mix engineer’s audio plugin folder. There are a wide range of options available to producers – in fact, at sonible we’ve recently released our own de-esser called smart:deess.
But why do we need de-essers? Why is sibilance such a problem in audio recordings and why do we not have a problem with it when we’re having conversations in real life?
In this article, we’ll be diving into why exactly we need to remove sibilance from vocal recordings.
If you’re looking for a new de-esser for your plugin collection, smart:deess could be the best option for you. The first artificial intelligence-powered de-esser ever, smart:deess is not only a very capable de-esser, but it is also a plosive remove and sibilance shaper.
If you want to try it out, you can for free with our 30 day trial.
Sibilance in vocal recordings occurs when humans pronounce words that contain ess sounds. It can also happen when pronouncing ch, t, and sh phonemes. When pronouncing these particular sounds, the human voice produces information in the upper mid range of the frequency spectrum, typically between 5 kHz and 10 kHz.
In day-to-day conversations, these sounds don’t stand out particularly compared to any other sounds made by the human voice. However, when recording sung vocals or spoken voice recordings with a microphone, they can quickly become problematic.
Sibilance when recorded by a microphone can sound harsh and unpleasant to the ear. Sibilant syllables can often jump out of recordings sounding much louder than the rest of a take, despite actually being at the same volume. Sibilant syllables occur higher up the frequency spectrum than other syllables, and this is what causes them to jump out of audio recordings and sound louder. But this isn’t the case when we’re having conversations with people in real life. Why?
The answer comes down to the positioning of the microphone relative to the mouth. When talking to someone we stand a reasonable distance from one another, it is very rare that we place our mouth next to someone’s ear and speak directly into it.
In fact, the only time we really do this is when whispering to someone. If you think of how whispering sounds when someone is speaking directly into our ear, you’ll realize that the sibilant syllables are more noticeable.
When recording the human voice, it’s common practice to only be a few centimeters from the microphone. Because of this, the high energy of sibilant frequencies does not have time to dissipate before hitting the microphone diaphragm and so becomes an issue in recordings.
Trained professionals with good microphone technique are able to limit the impact of sibilance in vocal recordings by manipulating their positioning relative to the microphone.
When sibilance is a problem in vocal recordings, it becomes necessary to reduce the volume of sibilant frequencies. This is typically done with a de-esser.
There are many ways to tackle unwanted sibilance without using a de-esser. However, these methods often require routing and multiple processors in order to make them work.
The most common quick fix for sibilance is to cut sibilant frequencies out of a recording with an EQ. This is effective at removing harsh frequencies, but the downside is that when sibilance is not occurring, the tonality of the recordings is affected. Because you are cutting upper mid frequencies recordings can start to feel dull and lifeless, and it’s not good practice to change the tone of an entire vocal recording just to remove sibilance.
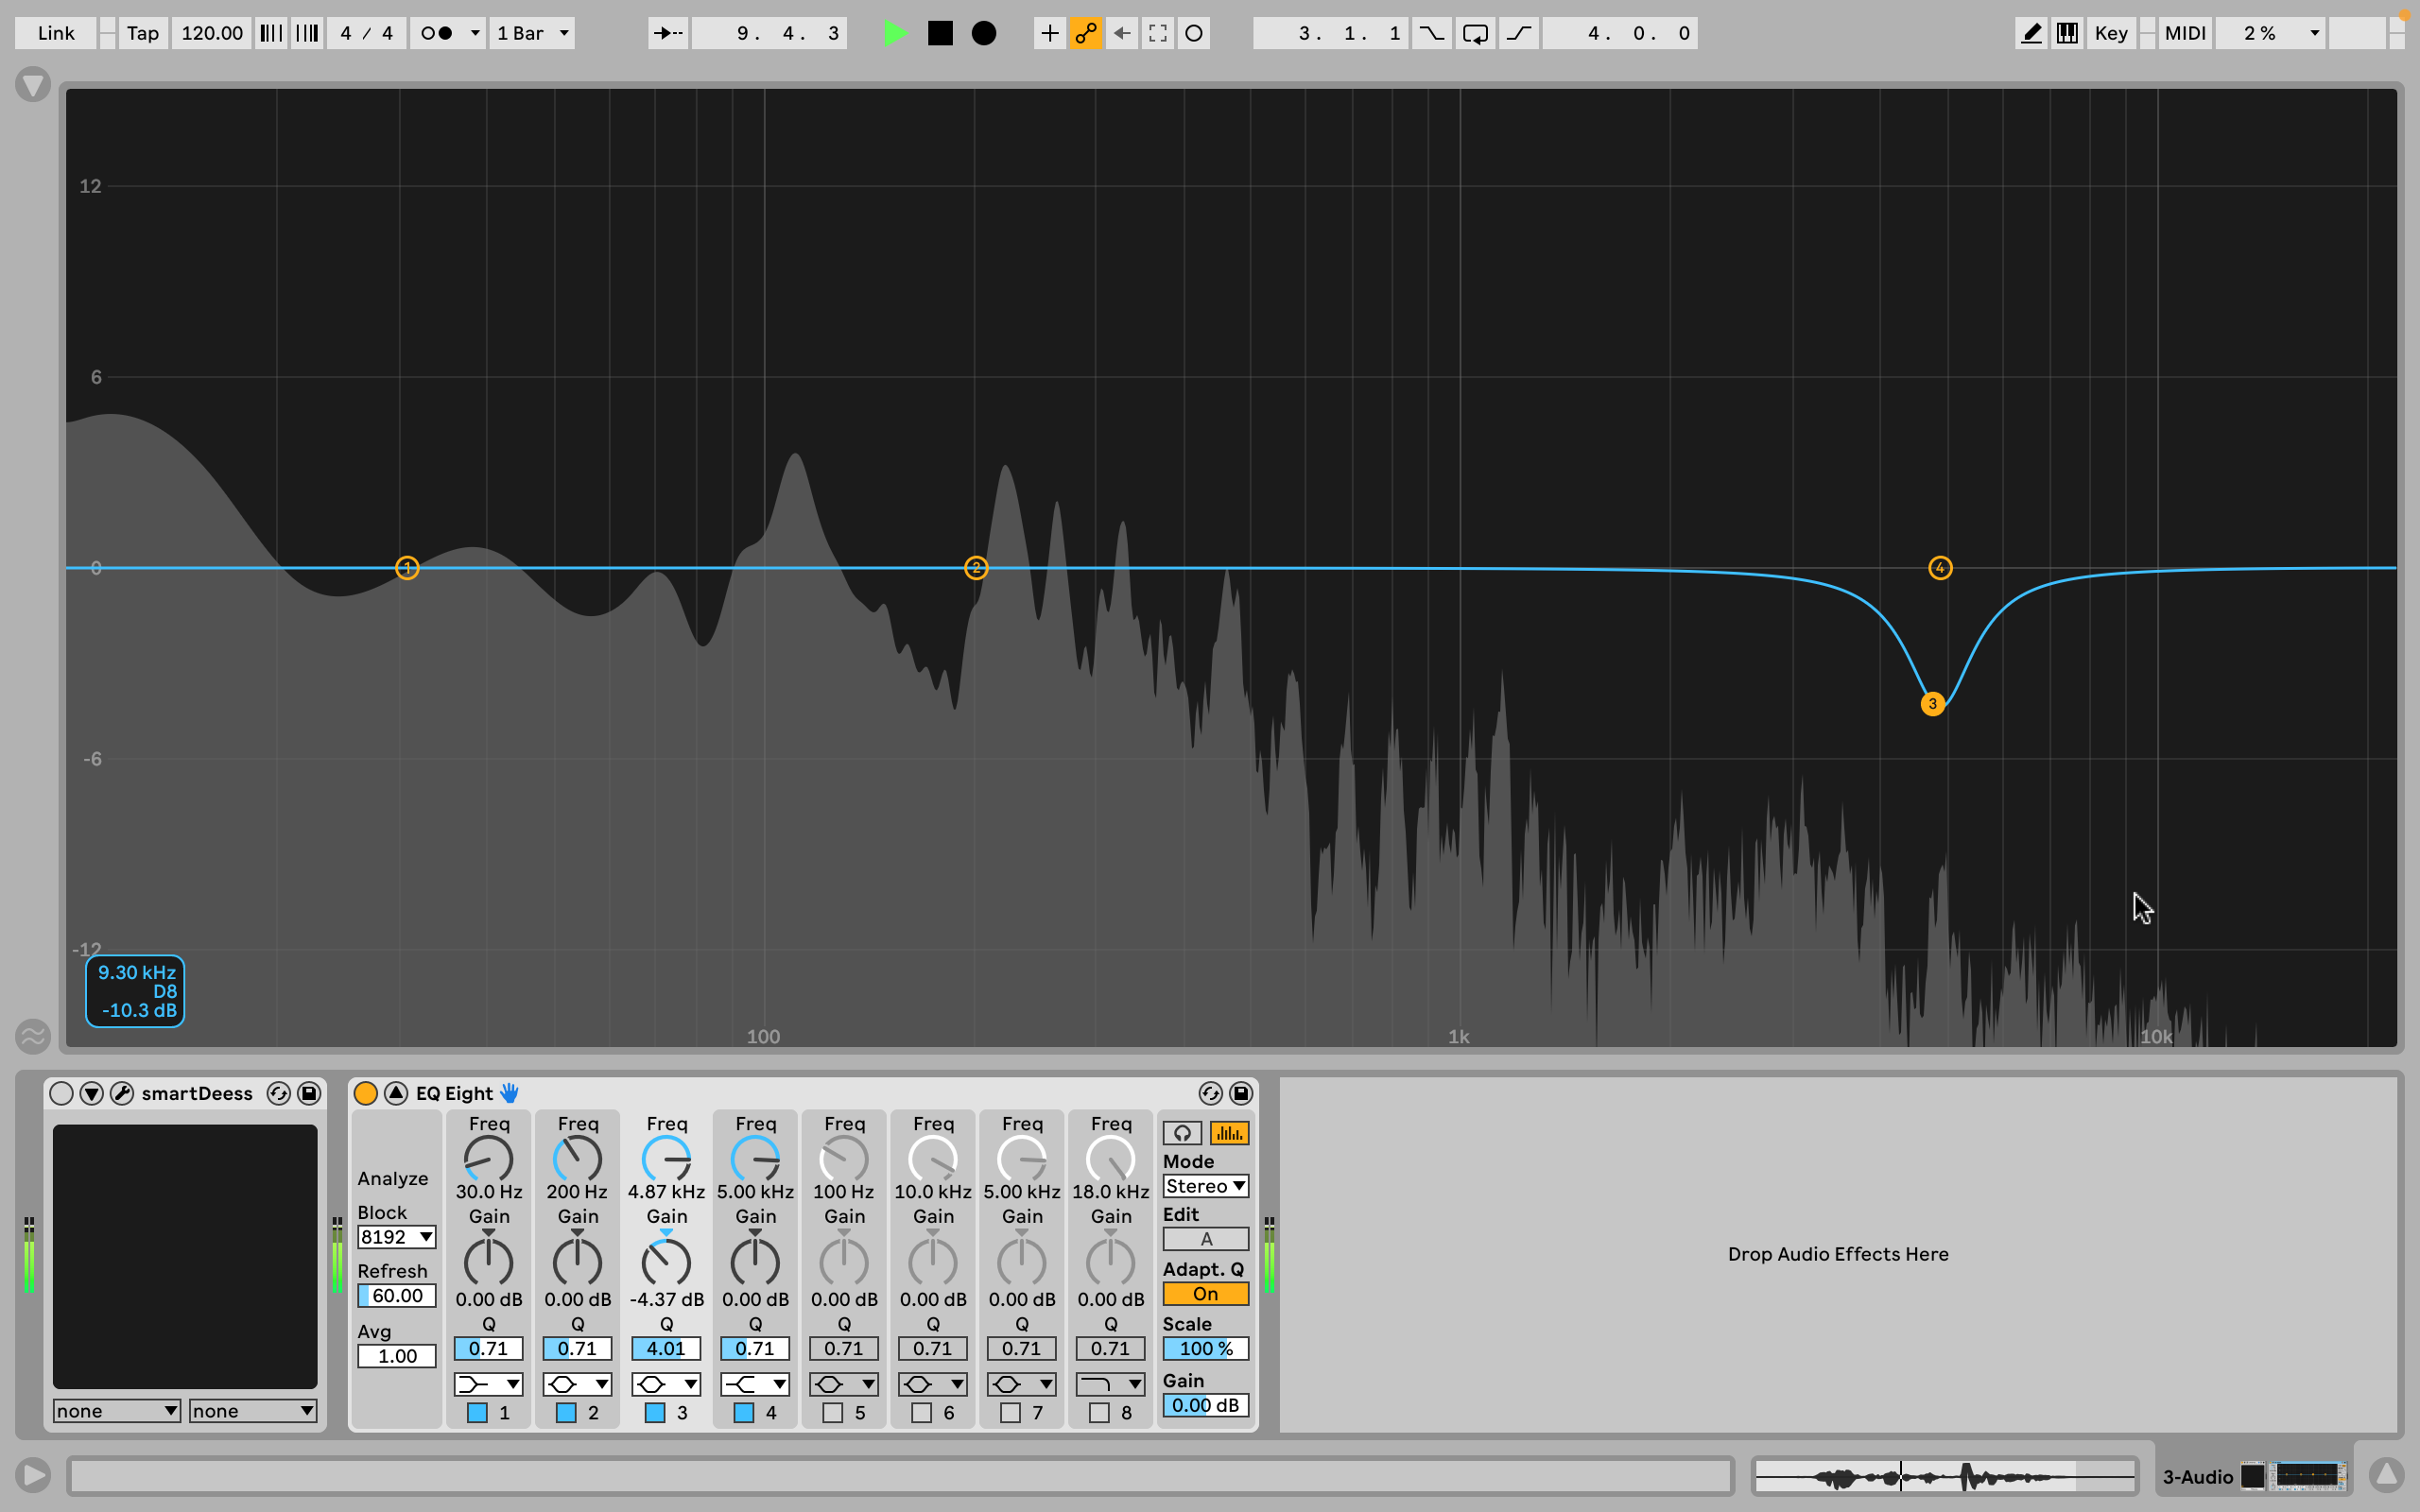 Sibilance only occurs at certain points in recordings, and so to best deal with it, a processor needs to dynamically cut sibilant frequencies from audio, reacting when they occur. De-essers are designed to do exactly this. They detect the audio volume in the sibilant frequency range and duck the volume of your audio only when sibilance is detected.
Another method is to duplicate the vocal channel, place an EQ on it with a boost in the sibilant frequency range, and then set this channel as the sidechain input of a compressor on the original vocal channel. This method works well but is much messier than just having a single processor in your channel strip that does the job for you.
With the ascension of de-essers you would now expect to see a producer using a dedicated de-esser to deal with sibilance over any other technique. Nowadays, with the advancement of phoneme detection technology, our smart:dess plugin is capable of removing plosives from audio recordings as well.
Because smart:deess uses artificial intelligence to detect phonemes in voice recordings, it can pick out plosives as well as sibilance.
But what are plosives and why are they a problem?
Plosives occur when we pronounce syllables that require us to fully close our mouths. This stops airflow from our mouth, and so when we open our mouths again a burst of air rushes out. Commonly plosives occur when we pronounce pee and bee sounds.
The problem with plosives is that the vibration of the microphone diaphragm caused by the rush of air from a vocalist’s mouth is picked up as a loud bass response in an audio recording.
Let’s take a look at how easy it is to remove both sibilance and plosives from a voice recording with smart:deess.
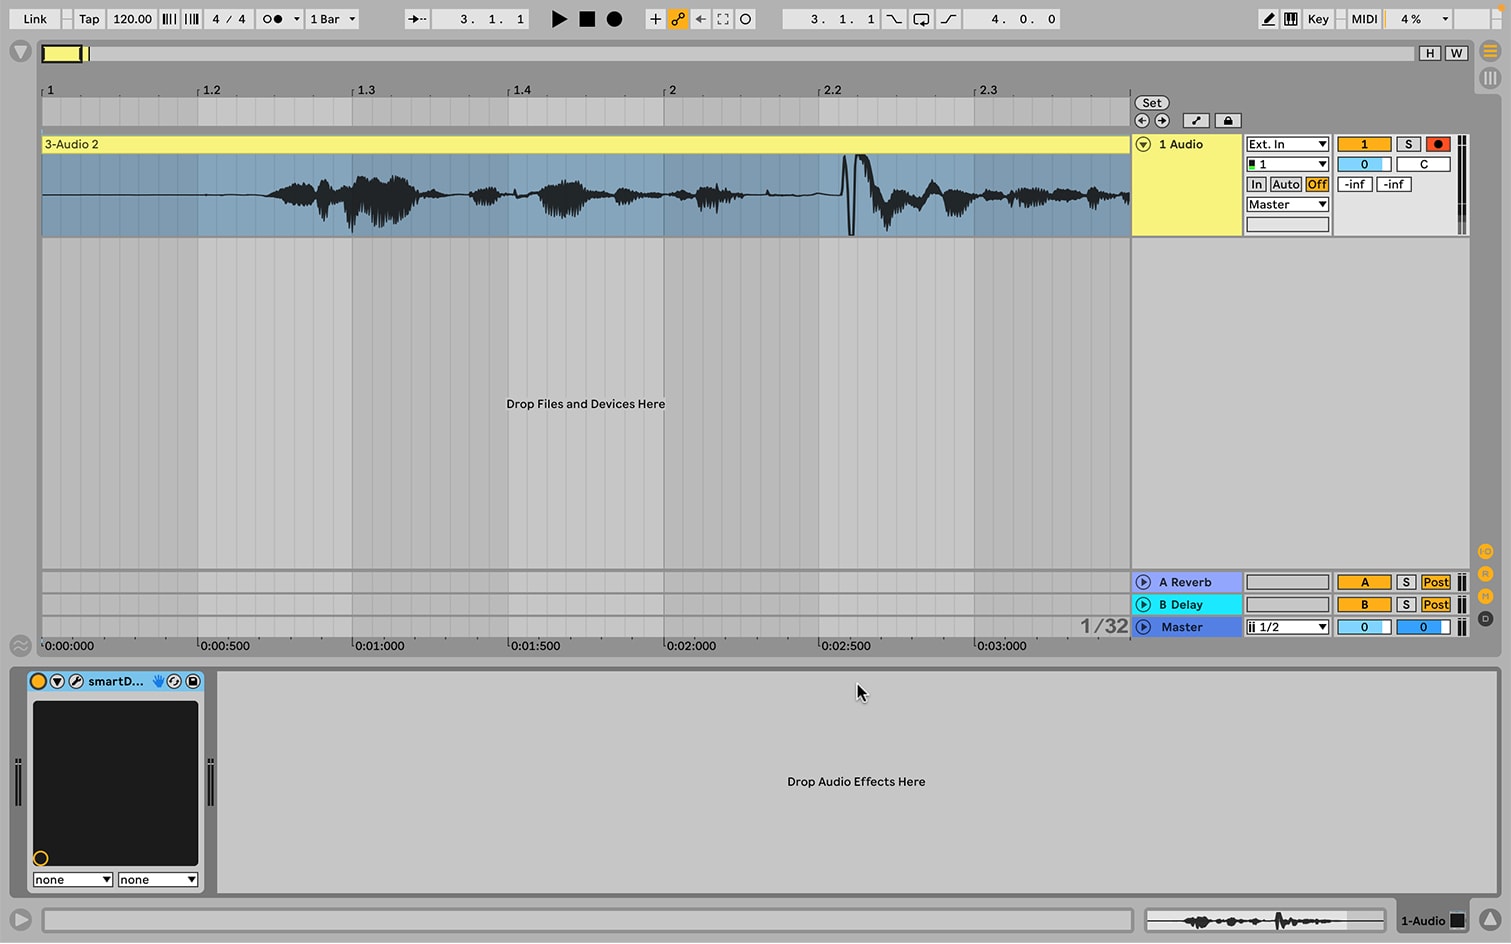 Here we have a vocal recording that contains a few instances of both sibilance and plosives. You can even see in the waveform where a plosive occurs – the wave turns into a loud, low frequency wave.
Load smart:deess on the channel.
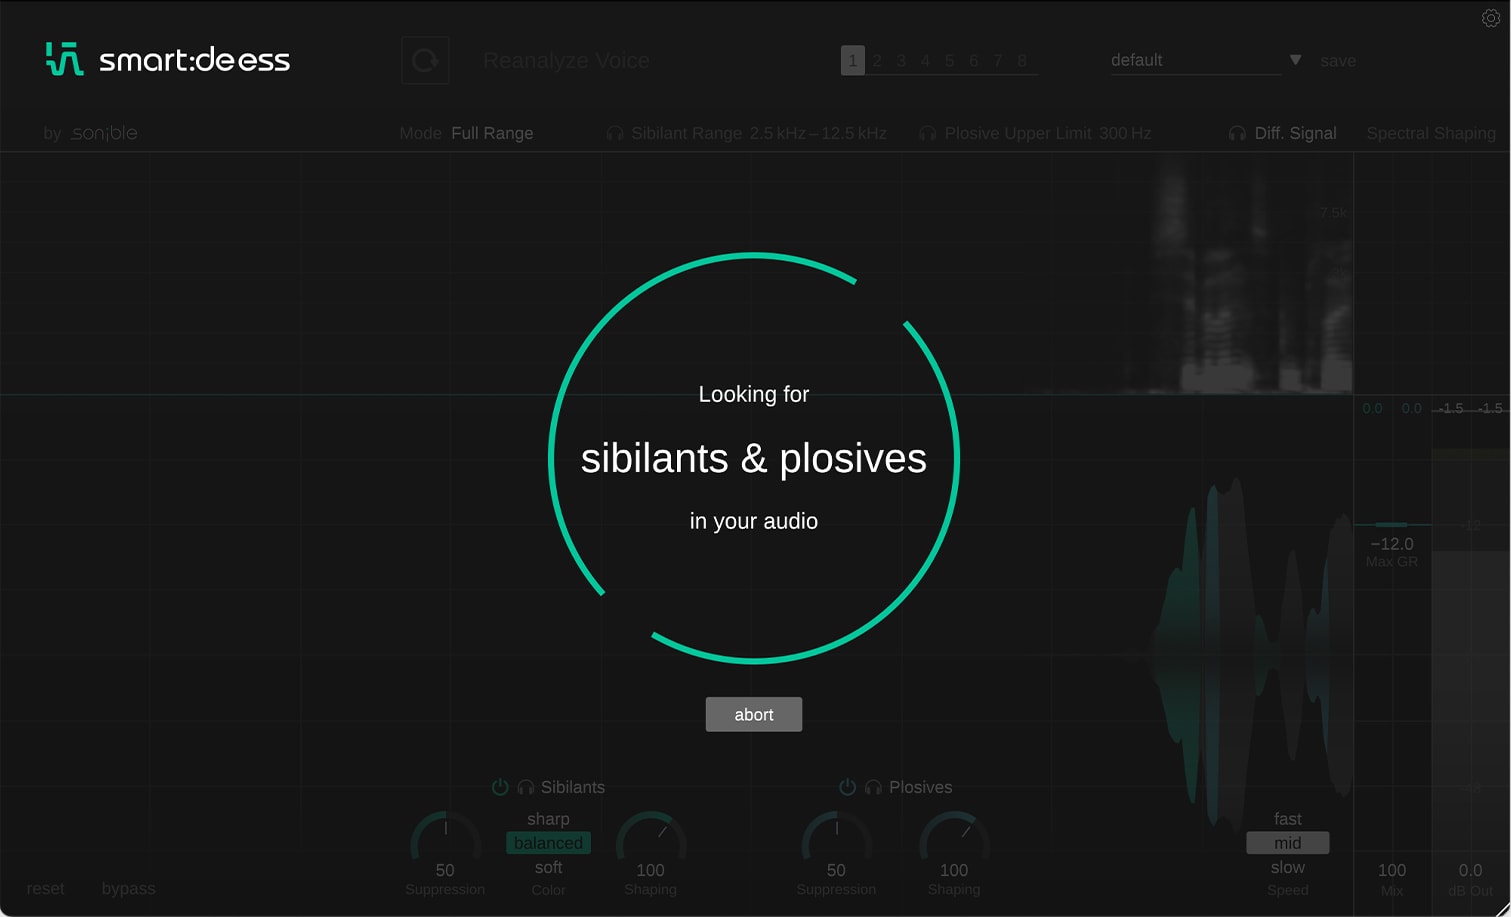 Next, we need to get smart:deess to analyze our vocal recording and locate instances of sibilance and plosives.
This is very easy, simply click the Analyze Voice button, and playback your audio recording. After a few seconds, we’ll be able to begin processing our recording.
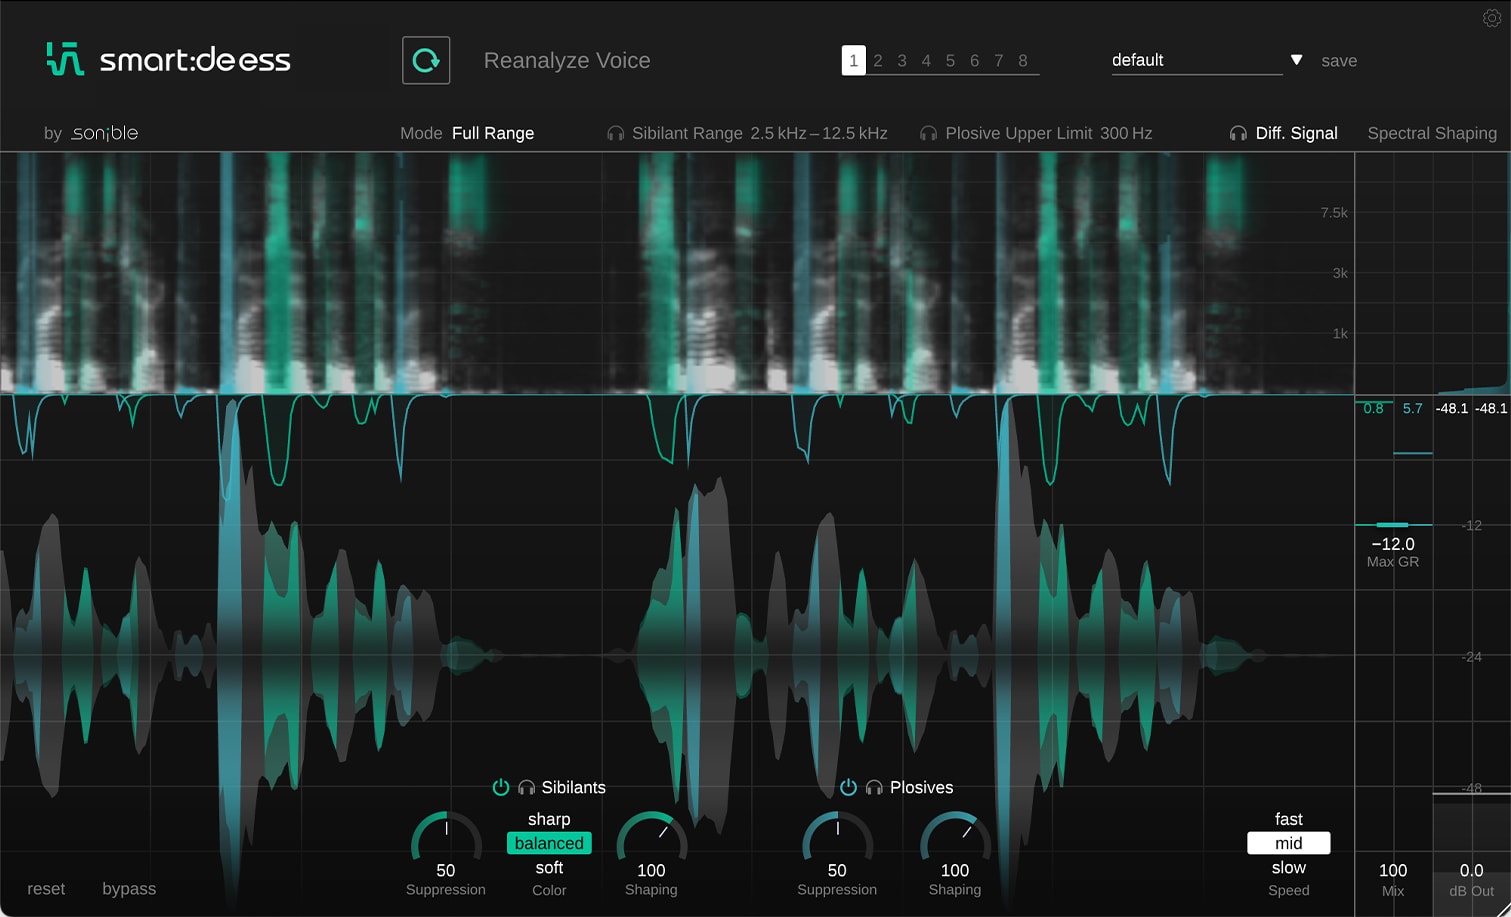 smart:deess has now located all sibilance and plosives in our recording. On the waveform in the UI sibilance will show up in green and plosives in blue.
We can now reduce the volume of the unwanted phonemes and shape how they sound. Starting with sibilance we will adjust the sibilance Suppression dial to adjust the sibilance volume. We can also alter the color of the sibilance and how strongly the sibilance is shaped toward that color with the shaping dial.
 Now we can turn our attention to the plosives in the recording. Again, we can set how much plosive suppression takes place, and also shape how much spectral shaping should be applied to the plosives.
All plosive suppression is performed separately from the sibilance suppression for extra control.
If you want to learn more about smart:deess, be sure to read our article explaining all of its features in detail. Also, you can head over to our YouTube channel where we have in-depth video explanations of the plugin.
To try smart:deess for yourself, check out our 30-day free trial.