Mid/side processing is a powerful tool that opens up a lot of possibilities for both creative and practical applications. From mixing to sound design, mid/side allows you to separate the central and stereo portions of your audio and process them differently. We show you three ways to make use of mid/side equalization in your production.
At sonible we love the power that mid/side processing provides, and that’s why we’ve included mid/side functionality in a lot of our plugins – most notably smart:EQ 4 and smart:comp 2.
In this article we’ll be focusing on the power of mid/side EQing, highlighting three of our favorite uses for this type of tool.
Before we share some of the best uses for mid/side EQing, let’s first answer the question – what is mid/side processing?
In a nutshell, a mid/side enabled effect separates the middle and side channels of your audio and then allows you to process them differently.
Another way of thinking about this is that the ‘Mid’ channel contains all the shared audio information between the left and right channels on a stereo track. The ‘Side’ channel contains the difference between the two channels.
Using this technology, a mid/side enabled equalizer such as smart:EQ 4 (former smart:EQ 3) allows us to – for example – boost just the high frequencies in the side channel whilst leaving the shared information in the left and right channels untouched. Other forms of mid/side processors include compressors such as smart:comp 2 which gives producers the power to compress the mid and side channels differently.
It’s common mixing practice to keep bass frequencies firmly in the centre of your mix – aka mono. Kick drums are one of the most bass-heavy elements of any mixdown, and so you may think that this means you want to keep your kick channel in full mono in your mix. However, this isn’t the case. Kick drums don’t only contain bass frequencies, they also contain information in the mid range and sometimes the highs – and this information doesn’t have to be in mono. In fact it is often desirable to have a wide sounding kick – particularly in heavier genres such as metal and techno.
In techno tracks the kick is often the central element in a track. To make it sound as big as possible you want it to be wide. However, as mentioned before we don’t want this width to occur in the bass frequencies. We can achieve a perfect balance by using a mid/side equalizer such as smart:EQ 4.
Here we have a kick drum that has a lot of width to the sound.
However, you’ll notice that the width occurs throughout the entire frequency range.
xTo remove the width from the bass portion of the sound, load smart:EQ 4 on the kick channel.
With smart:EQ 4 loaded, create a high-pass filter band and set the cutoff to around 150Hz.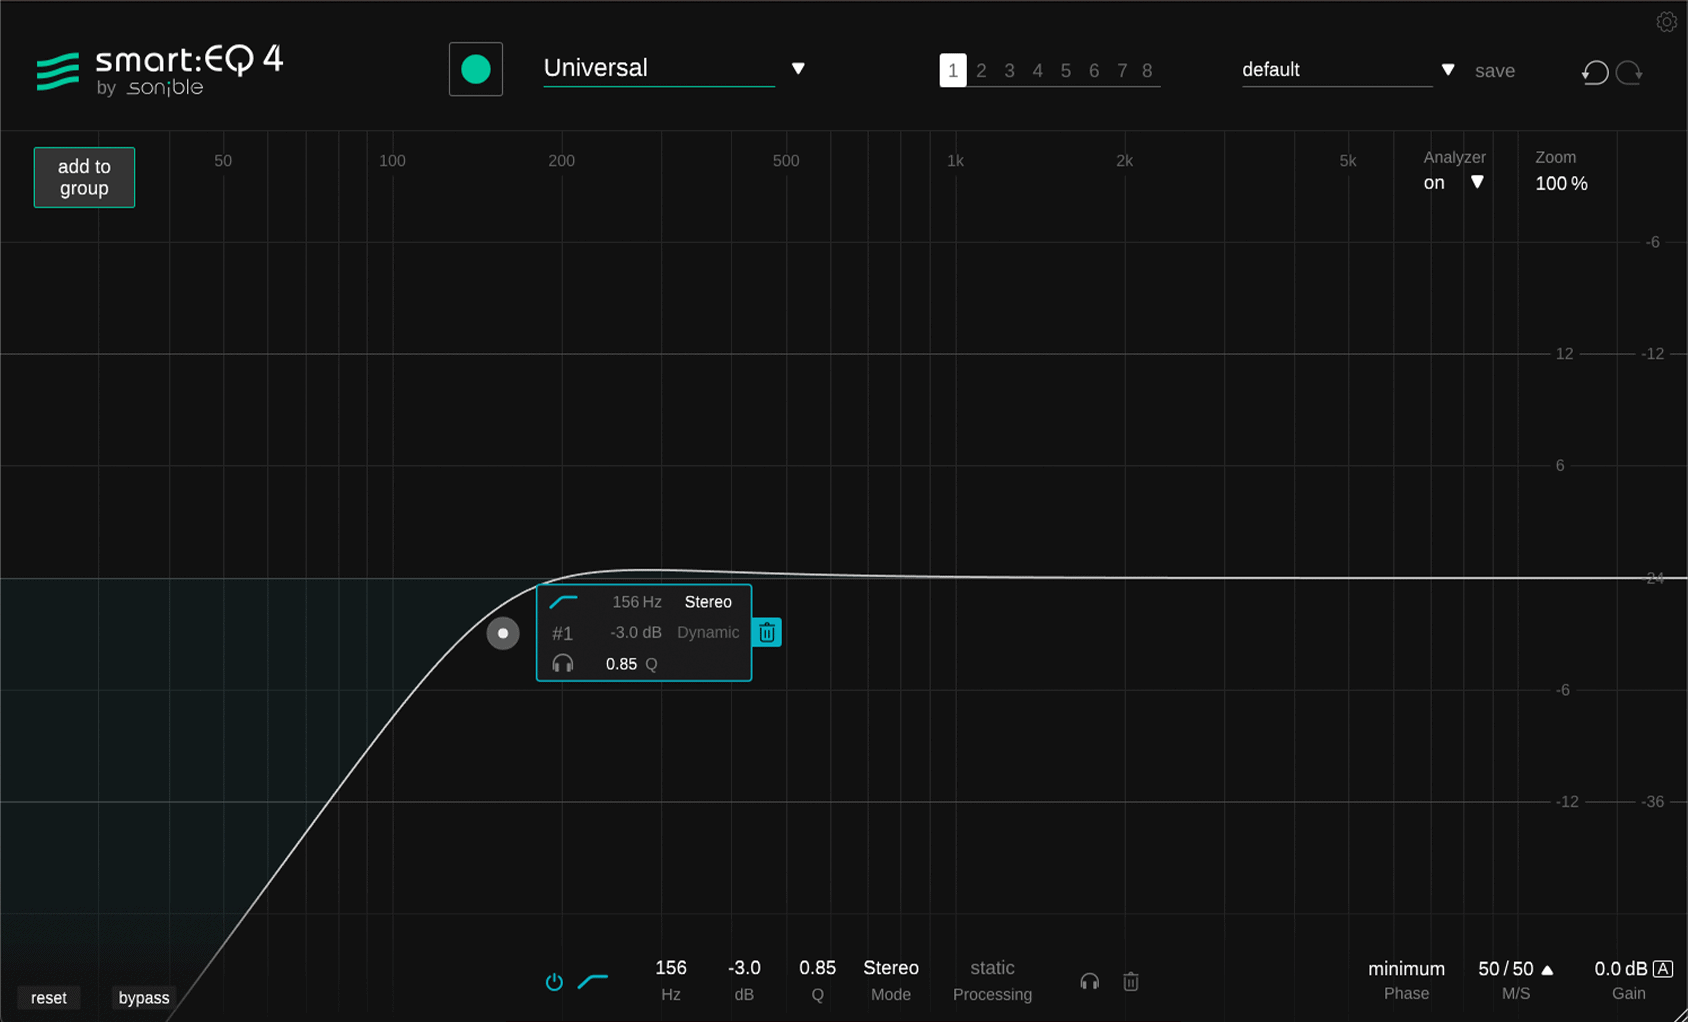 This will cut out all of the bass frequencies across the stereo field, making the kick sound weak. To remedy this we need to set this band to side mode.
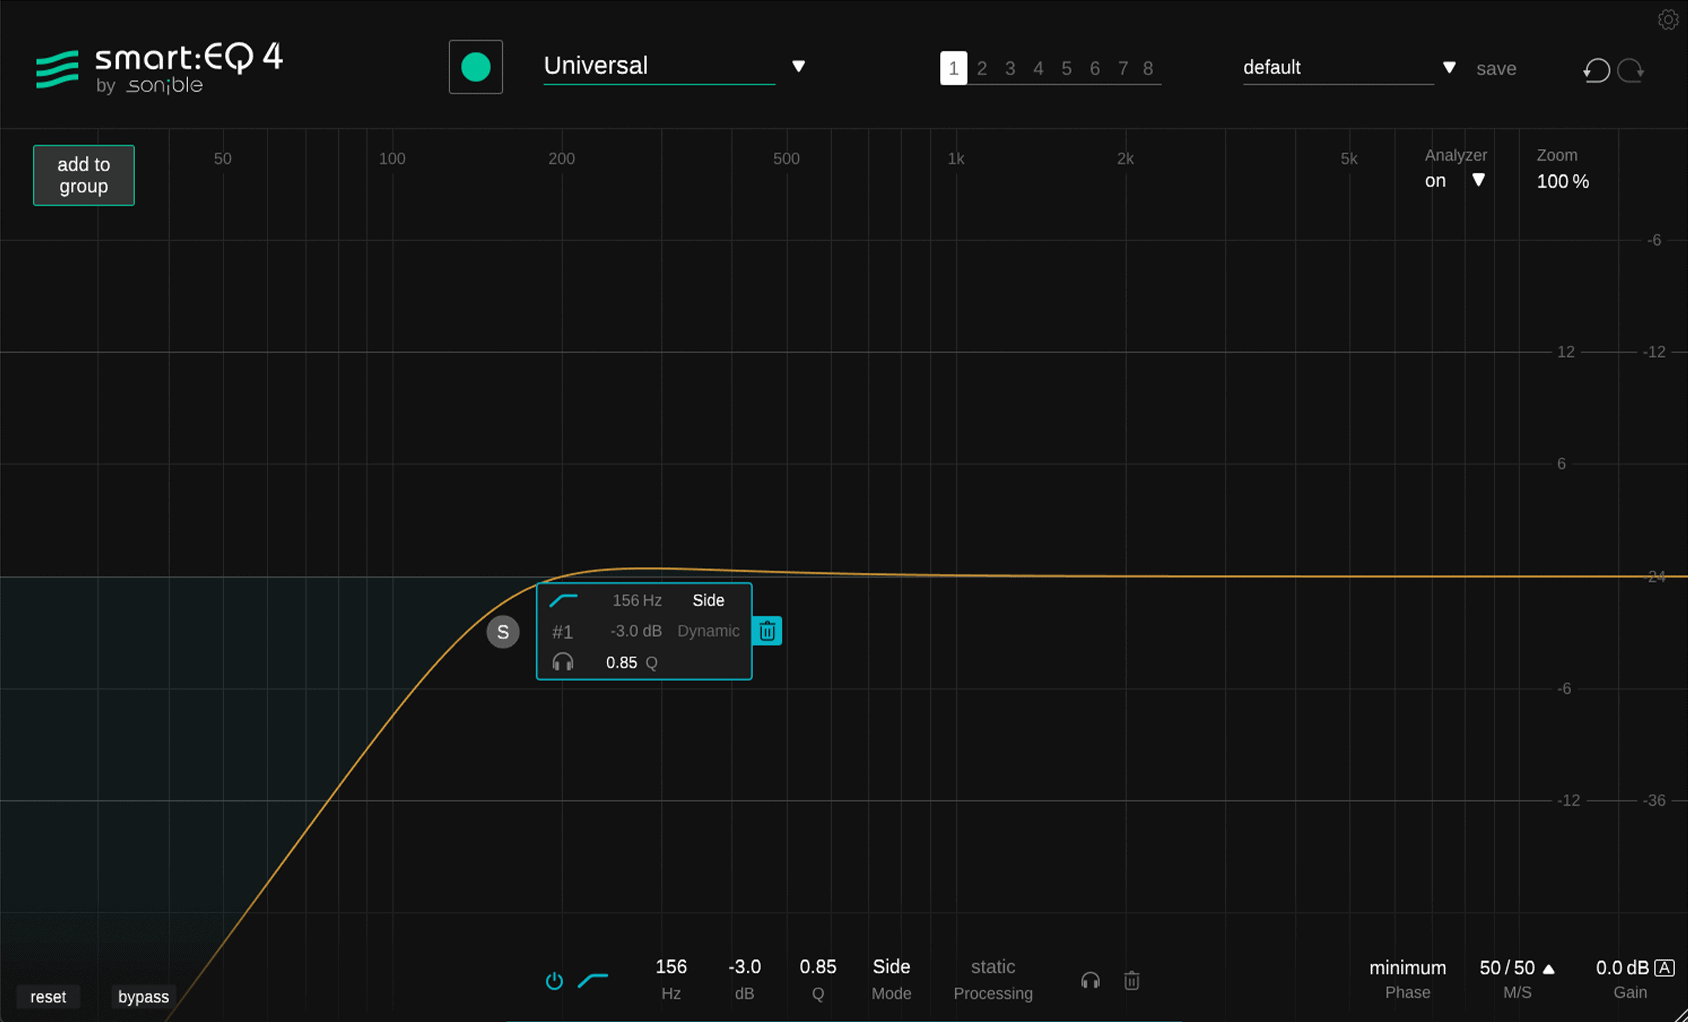 Each band in smart:EQ 4 can independently be set to either stereo, mid or side mode. To change the high-pass filter to just filter the sides, click on it and go to the Mode parameter at the bottom of the UI. Clicking on the mode will cycle through the various options – click until you reach Side.
Now when we listen back to the kick loop you can hear we retain the width in the mid and high range of the kick sound, but the bass portion is strictly mono – this is unattainable without mid/side processing, but easily done with smart:EQ 4.
When mixing track elements with traditional equalizers, mix engineers will often define and carve out specific areas of the frequency spectrum where certain instruments are dominant.
For example, a bass guitar would dominate the bass frequencies, a piano the mid range and a female vocalist the higher frequencies. However, often when mixing larger projects there are several elements competing in the same frequency range. This can be a challenge – you can’t just simply carve out certain frequencies in one instrument to make room for another as you will leave the cut instrument sounding weak. However, if you don’t make space for the instruments they will spectrally mask one another, and they’ll both sound weak and lost.
This is a perfect use case for mid/side processing. Mid/side equalizers allow us to not only define space for song elements in the frequency spectrum, we can also define space in the stereo field.
A good example of this is when mixing a synth arp and a male voice, as we have below. The two instruments both primarily contain information in the mid range of the frequency spectrum.
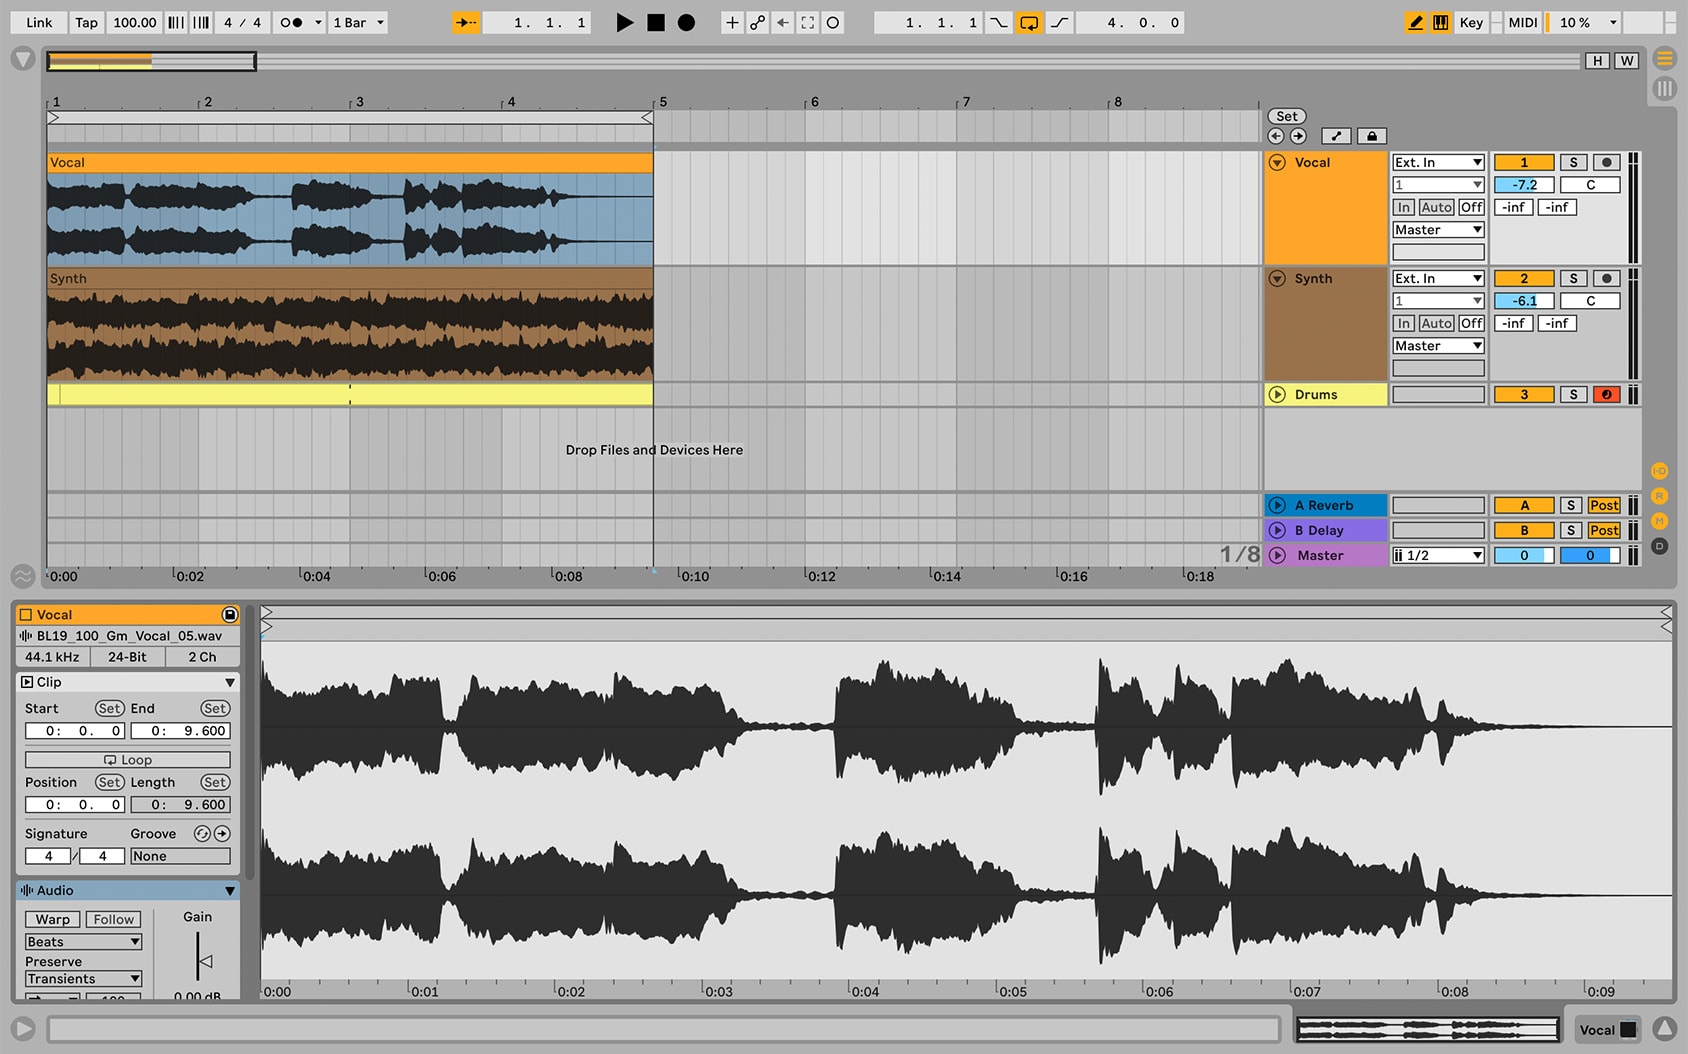 We want the vocal to be the dominant element – and it is in mono – so we will keep it in the middle of our mix.
The guitar on the other hand is in stereo. To make room for the vocal we will reduce the mid signal on this track and boost the sides. This is very easy to do in smart:EQ 4.
Load smart:EQ 4 on the synth channel.
In the bottom right of the UI you will see the number 50/50 with M/S written below it. This controls the balance of mid and side signals. By bringing the side up and the mid down we can cut out the central information in the synth sound. We’ve set the M/S control to 10/90. This means that the synth signal is 10% mid and 90% side.
 Now if we listen to our track, you will hear that there is much more space for the vocal in the centre of the stereo field, whilst the synth is still clearly audible in the sides of the sound.
The final mid/side EQ technique we’ll be looking at today takes place at the very top end of our audio spectrum.
Boosting the high end of the frequency spectrum with a high shelf is a common technique for adding air to reverbs. However, boosting the entire stereo field can lead to masking of the original dry signal to which the reverb is being applied.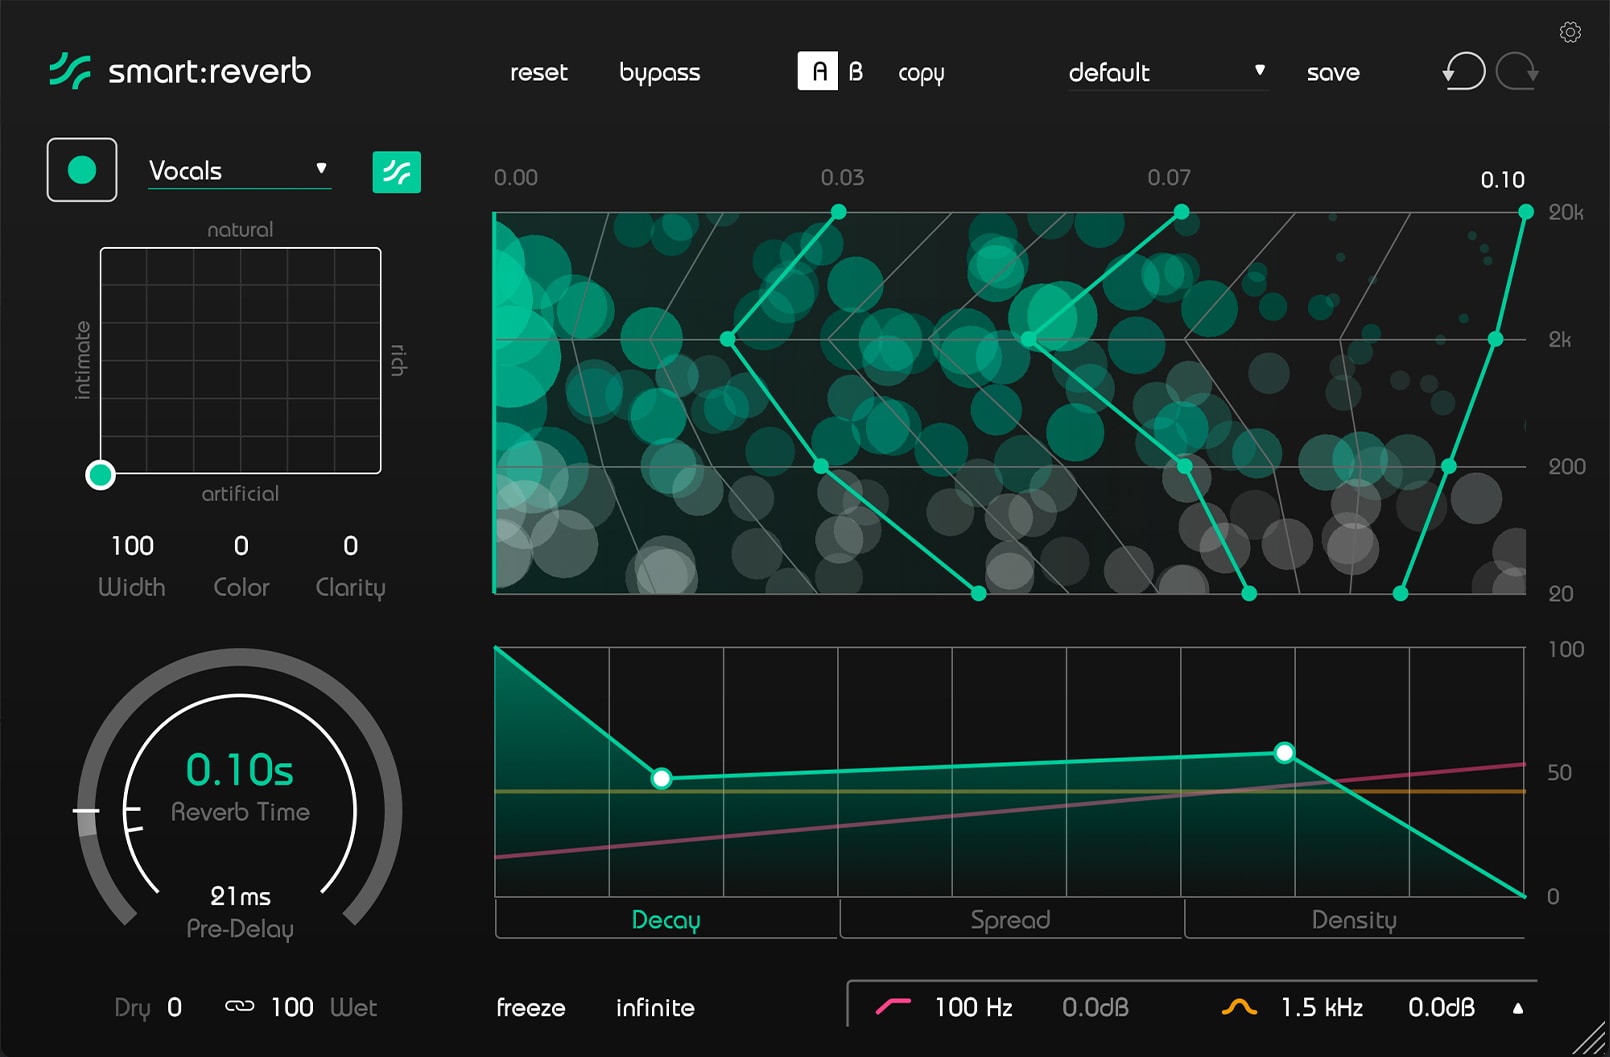 By boosting the high end of just the sides in the reverb signal we can leave the dry signal in the centre of the mix unmasked.
Let’s use the same vocal as in our last example. We’ve sent it to an auxiliary channel with a reverb with a long decay on it.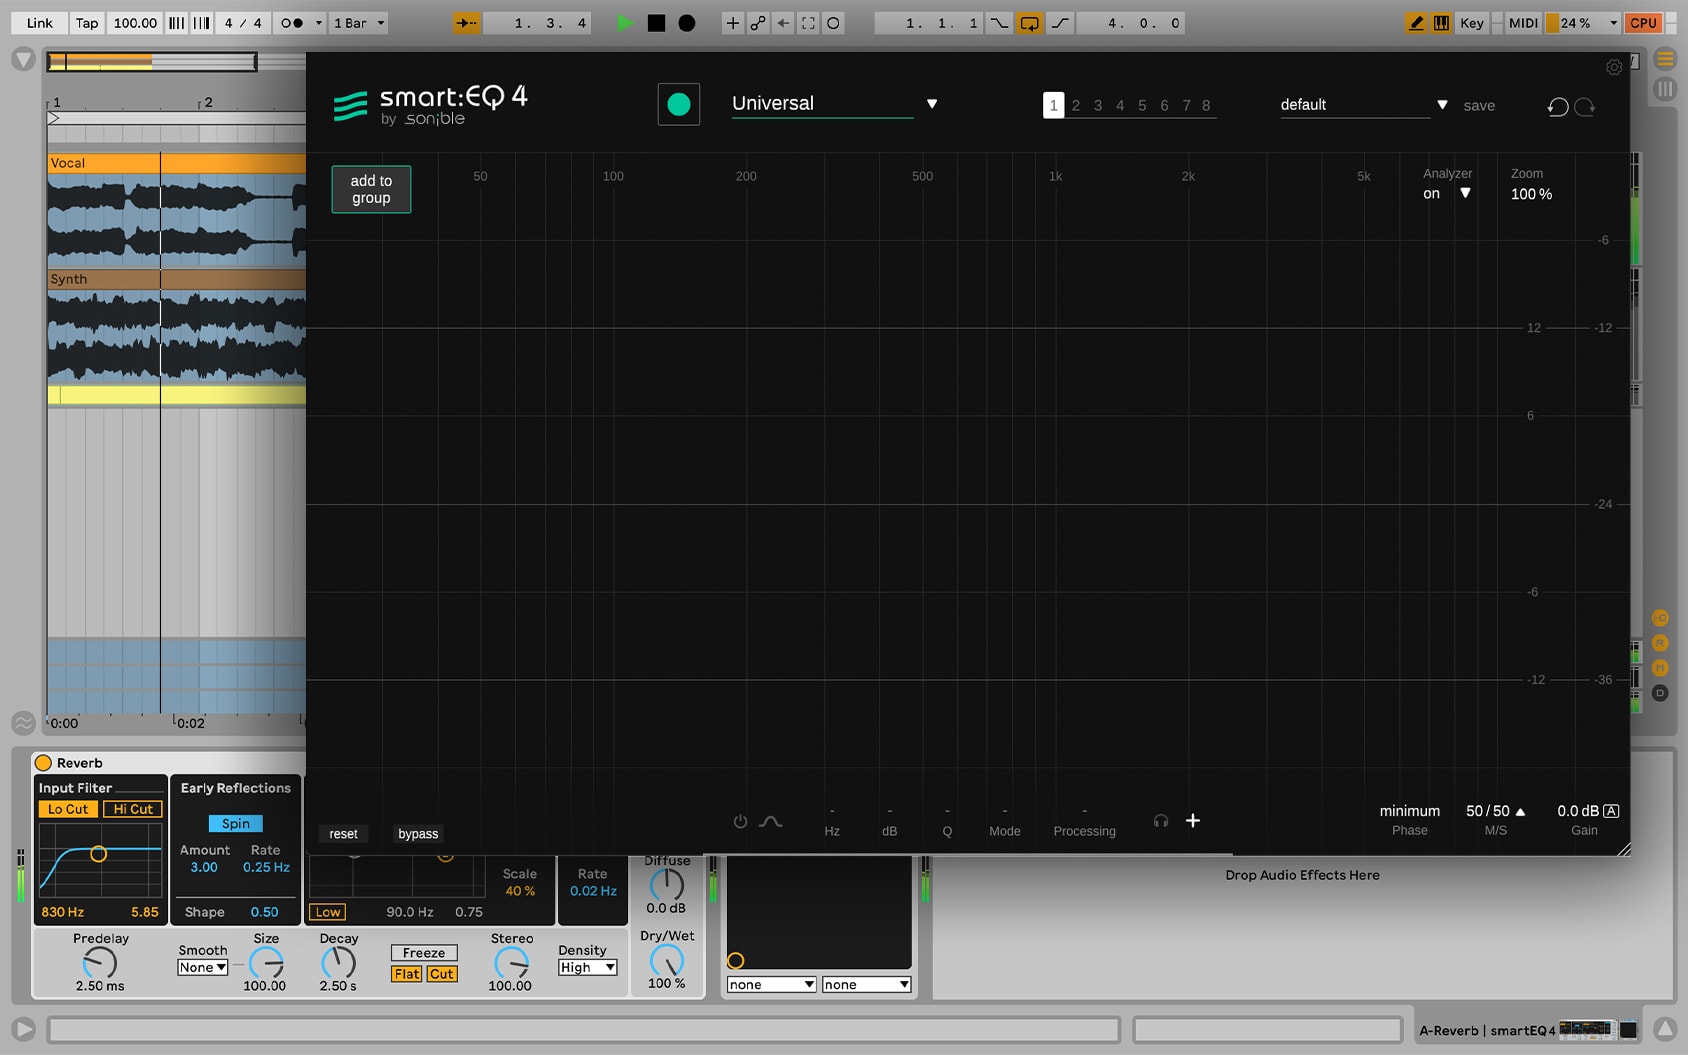
Using smart:EQ 4 we’ll create two high shelves, one cutting from around 2.5kHz, and one boosting. Set the boosted shelf to Side mode and the cut shelf to Mid mode.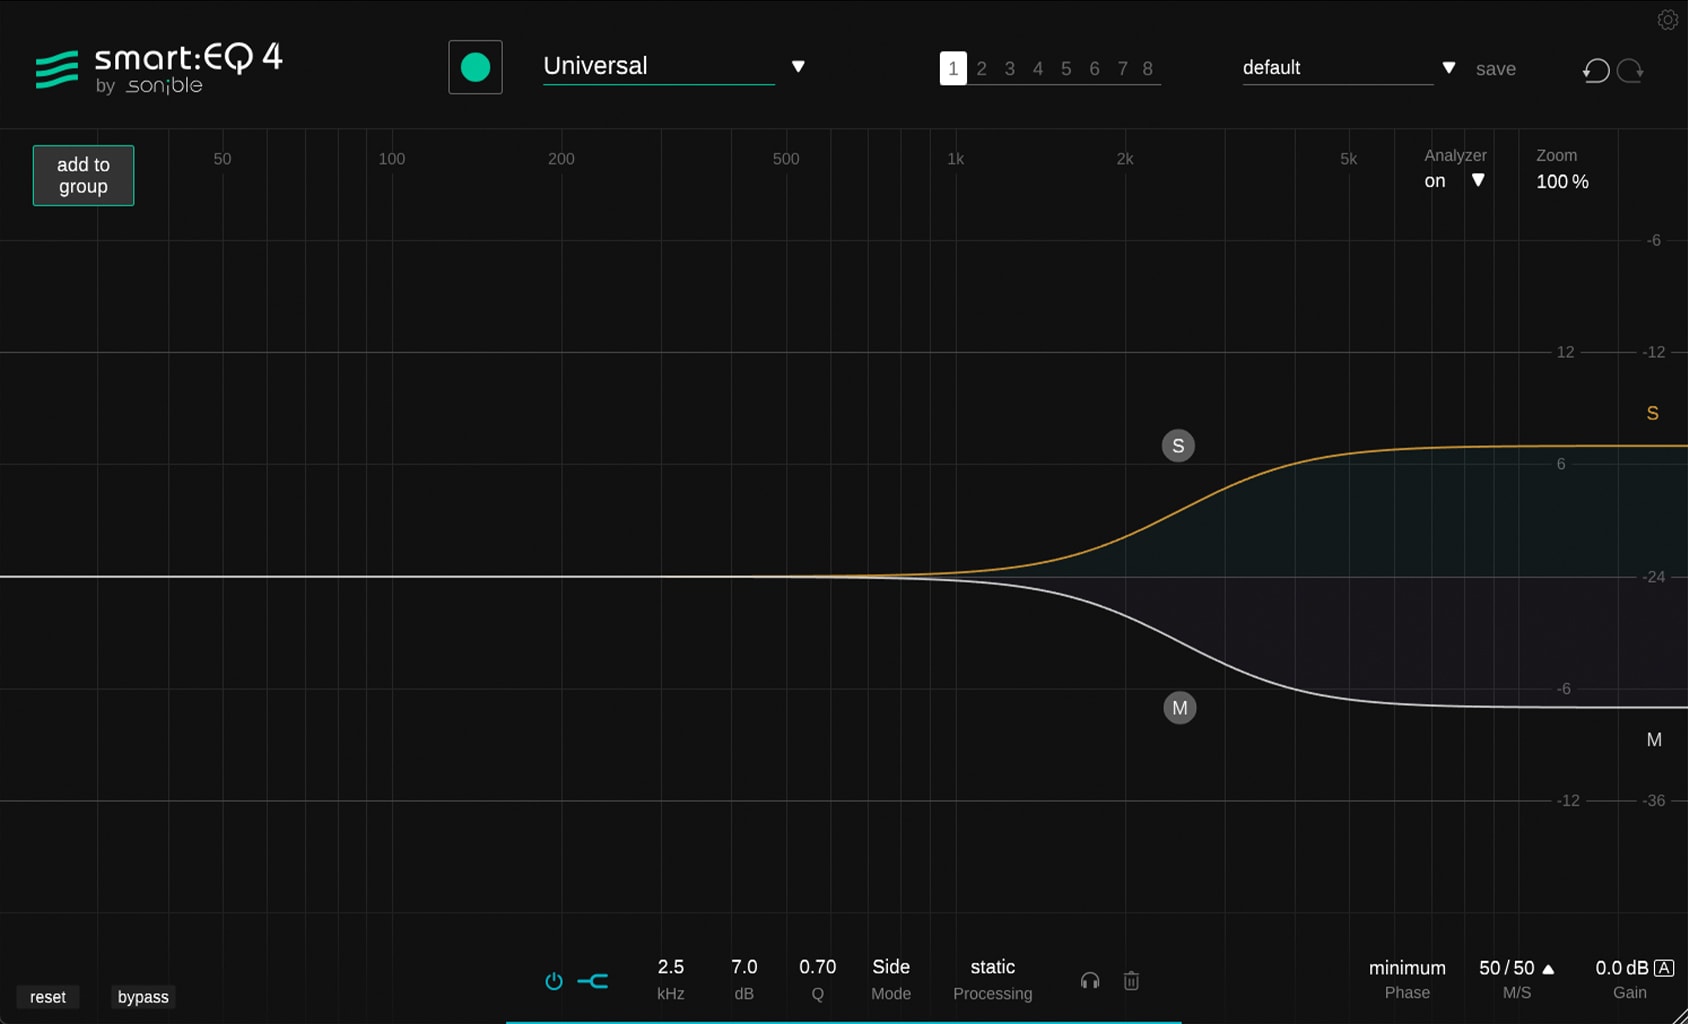 Now when we listen back to the vocal track with the reverb applied the reverb has a nice airy width to it in the sides of the top end.
It’s a subtle effect but the vocal now has a lighter feeling and the dry signal has more space to breathe.
To try these mid/side equalizer techniques for yourself, you can download smart:EQ 4. The intelligent equalizer is available to try for free for 30 days so you can get a feel for how mid/side processing might fit into your workflow with no risk.
As previously mentioned, smart:EQ 4 isn’t the only sonible plugin with mid/side capabilities. smart:comp 2 – our flagship artificial intelligence powered compressor – also features mid/side controls and, like smart:EQ 4, is available on a free 30 day trial.