Limiters are something of an unsung hero. Everyone knows they exist, but many producers don’t know how to integrate them into their workflow beyond the most obvious mastering and ‘maximizing’ options.Before we dive into how and when to use limiters, it’s important that we fully understand what exactly a limiter is, and how it affects sound.
At its core, a limiter simply stops audio from crossing a certain threshold.
If you’re familiar with how compression works, you can think of it as a compressor with an infinite ratio. Whatever value you set the threshold at, the incoming audio will not cross it.
You may have heard of a “brickwall limiter”, which was the name given to early digital limiters that introduced the capability to absolutely cut down anything from 0.1dB to 70dB above the set threshold. This is quite a useful image. You can think of a limiter’s threshold as a “brick wall” that audio simply cannot cross in level.
In this article we’re going to look at six ways limiters can be used in your production workflow. We’re also going to suggest whether you should be using a simple limiter such as pure:limit, or a more advanced limiter such as smart:limit in each use case.
Perhaps the most common use for a limiter is in a mastering chain. Bedroom producers and professional mastering engineers alike use limiters in their mastering chains, and here’s why.
A limiter is designed to increase a signal’s level without introducing unwanted distortion through clipping. That said, pushing a limiter too hard can introduce clipping to a signal. Though it’s not the only purpose of the mastering process, it is important that a mastering engineer gets a track sounding nice and loud on a range of speaker types.
It’s a funny phenomenon, but music tends to sound better when it’s louder.
The mastering process is a technical one, where seeking out that extra fraction of a decibel here and there is a valued skill. Because of this, the more advanced your limiter, the better. If you’re looking for a limiter for your mastering chain then smart:limit is an excellent choice.
A limiter can come in handy even if you don’t actually limit any audio with it. Many modern limiters, including our own smart:limit. Have useful visual meters which show the loudness of incoming audio.
You can simply reference this information as an analyzer using it to make mixing decisions.
It can come in particularly useful for identifying any elements in your mix that are eating up too much headroom. For example, you may notice every time your guitar track plays your volume peaks, you can then use this information to perhaps cut any bass frequencies from your guitar track, reducing its volume and thus bringing down the level of your entire mix.
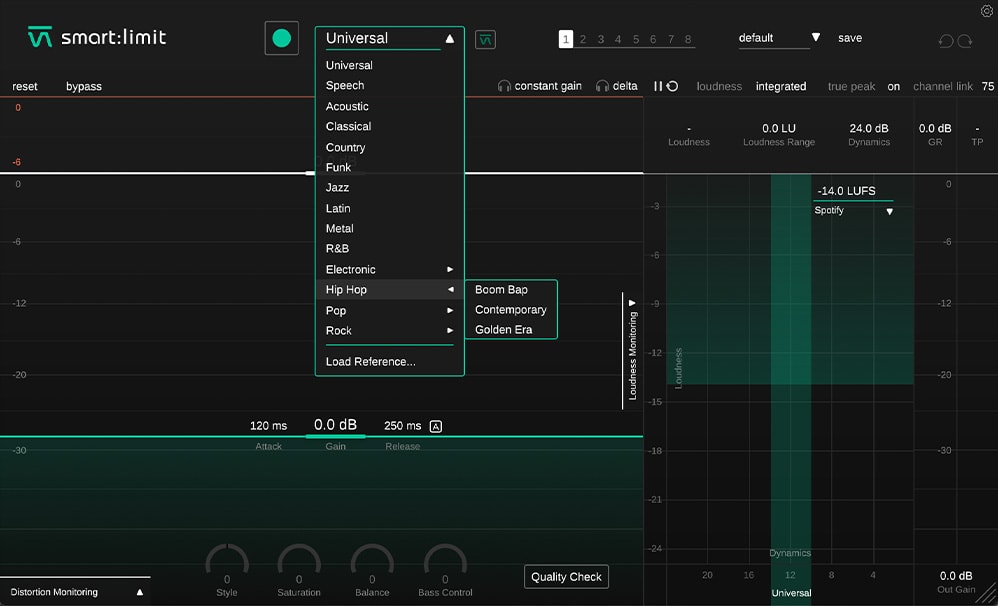
smart:limit can act as a particularly advanced analyser with both loudness and dynamics monitoring. The loudness analyzer lets you choose from over 20 loudness targets, so you can be sure to get your audio to the right level whether you’re mastering your next release for Apple Music, or the soundtrack to an advertisement. Plus, smart:limit’s Distortion Monitoring feature lets you check for unwanted artifacts resulting from limiting that you might not be able to detect by ear.
When working with a group of similar instruments such as multiple vocal takes, drums or guitar parts, it can be a good idea to load a limiter on the group bus.
When you have a lot of tracks in a group, occasionally you can get moments of build up if there are parts of your arrangement where every track is playing simultaneously.
By placing a limiter on the group and setting the threshold to whatever level you want the maximum gain of that group to be, you can stop any particularly loud moments of audio build-up.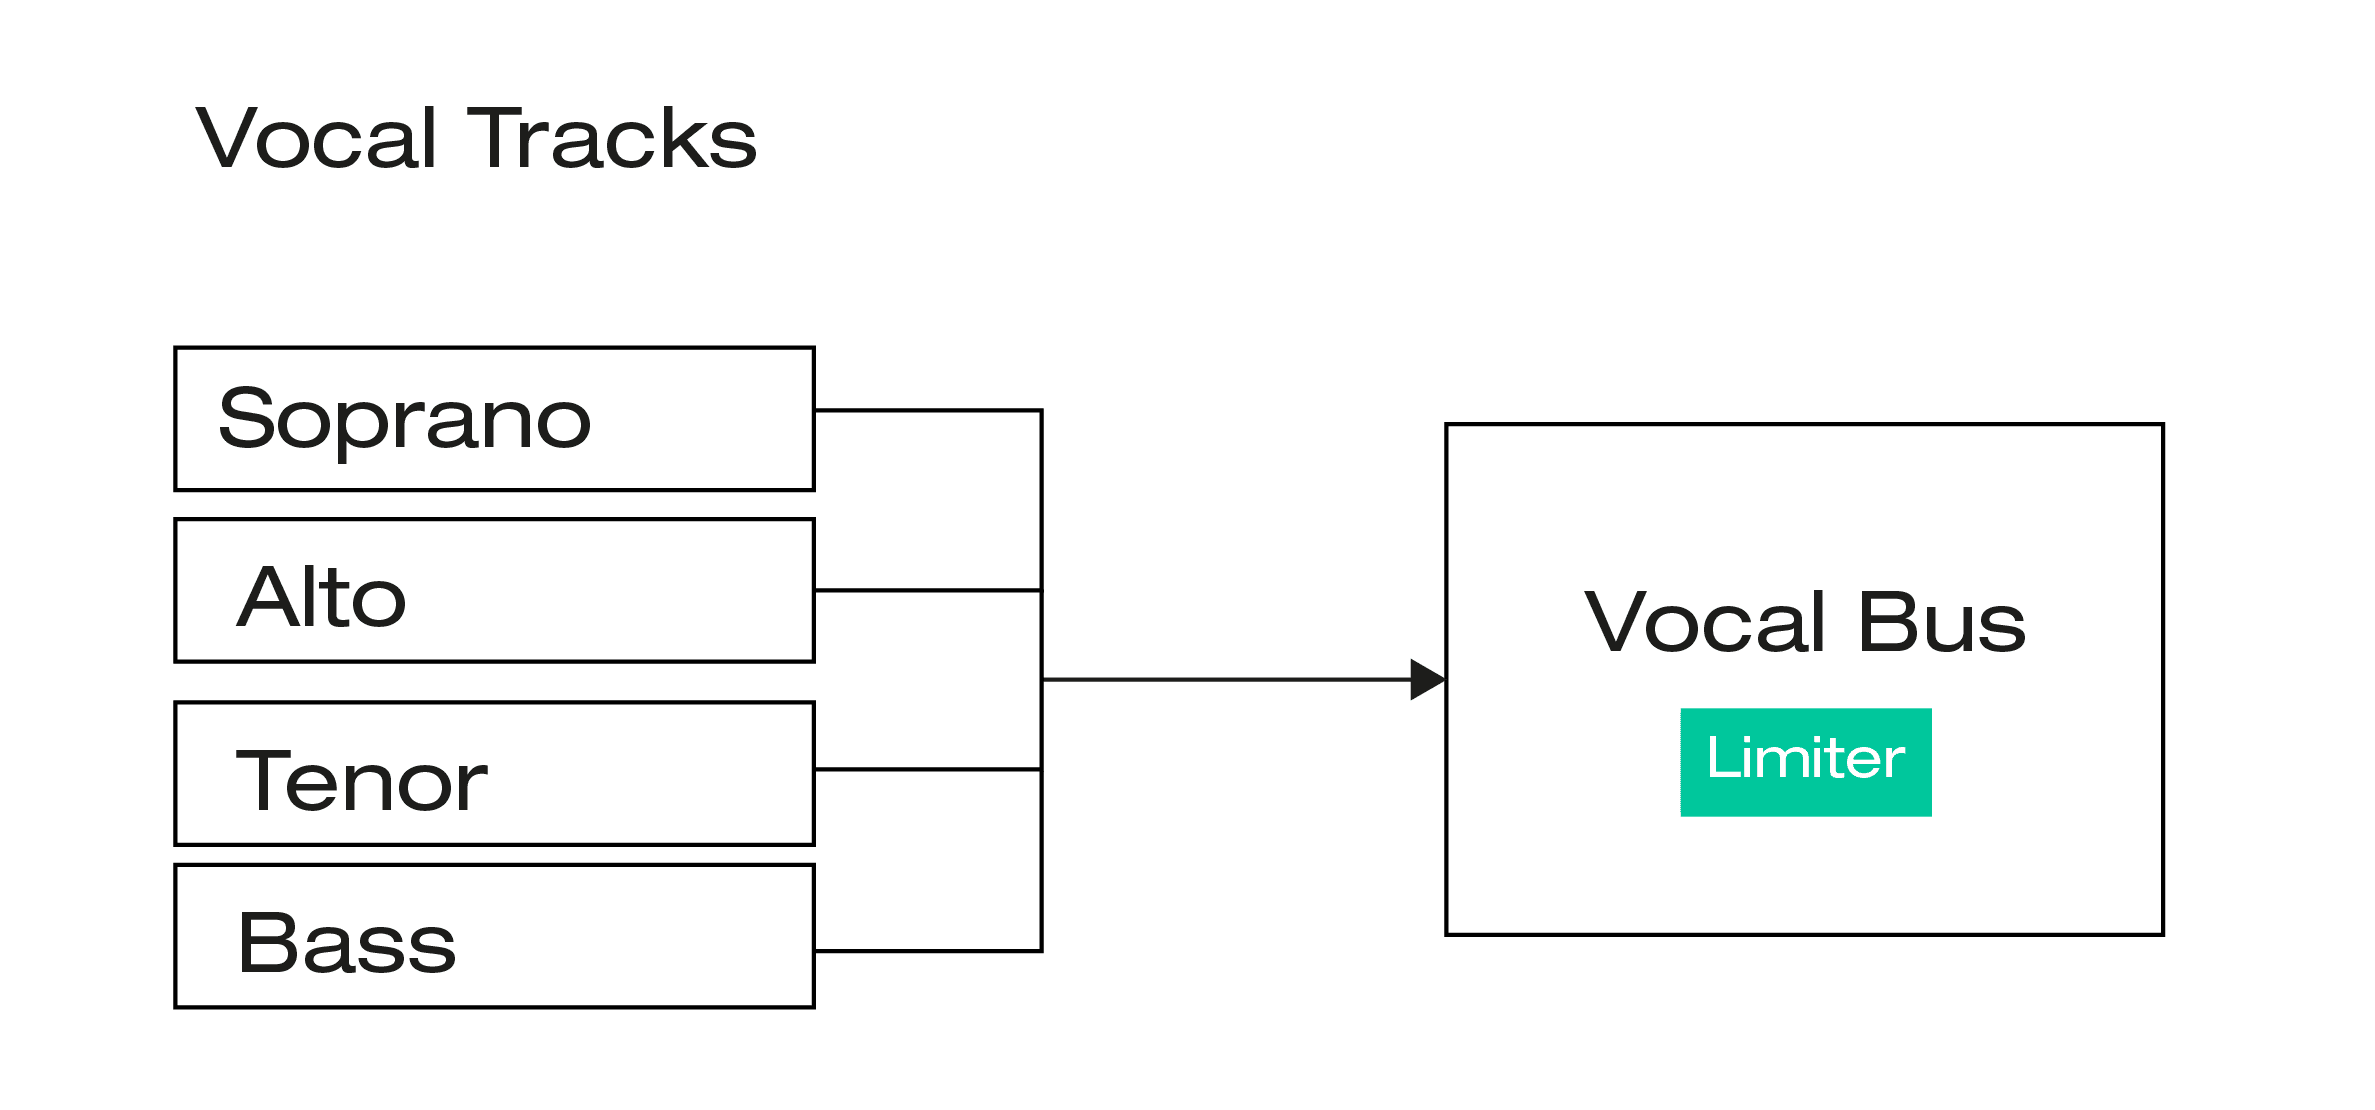 You don’t want the audio level to be reaching the threshold of the limiter most of the time – that would change the sound of the group. This technique acts more like a back stop incase of any unexpected moments of loudness.
For this technique you do need to be using a limiter with a threshold control, so you’ll need a more advanced limiter like smart:limit.
Many producers will have a limiter loaded on their master bus as part of their DAW template, meaning it’s in the project as soon as it’s created and will just sit there from then on.
They’re not doing it for mixing or mastering purposes, or even for a creative reason – the limiter actually serves an important safety function. When you’re working on a track, it’s possible to accidentally create sounds that are dangerously loud. One such example of this is if you create a feedback loop between channels in your DAW, or by setting the feedback dial on a delay unit above 100%. Feedback loops get louder and louder until they start reaching dangerous volume levels which can damage your hearingand/or your equipment.
However, with a limiter placed on your master channel, you ensure that your DAW’s output can never go above 0dB, keeping your ears and your speaker cones safe.
When it comes to picking a limiter for this role, simple is fine so a limiter such as pure:limit works perfectly.
When working in electronic music – particular dance genres such as tech house, techno, drum and bass and dubstep – having a loud, bassy and impactful kick drum is very important.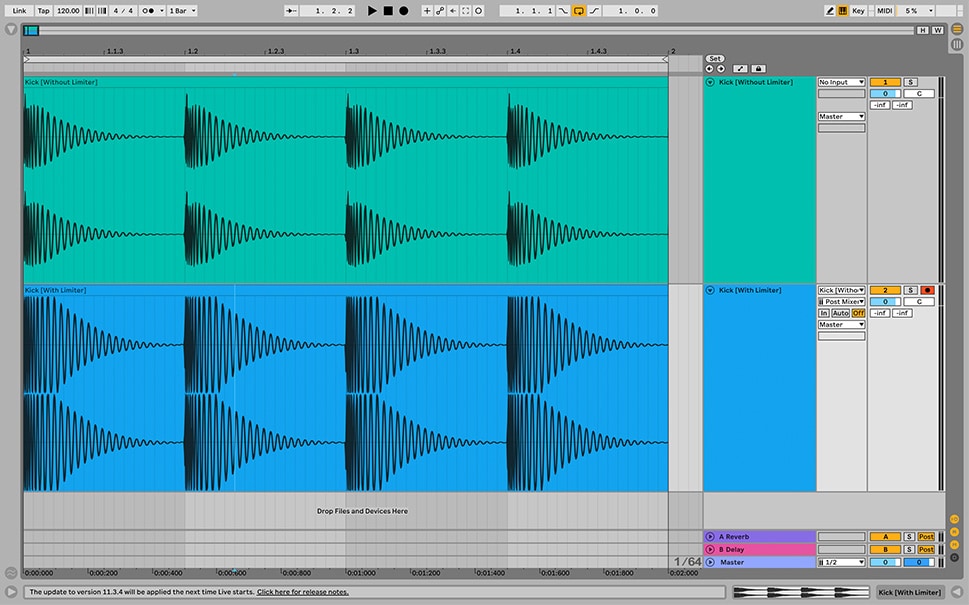 If you’ve ever looked at the waveform of a professionally produced, mixed and mastered dance track, then you may notice that the kick drum often eats up all the headroom. The kick often has a flat “sausage” shape with the attack and body of the kick at the same volume level with a short tail.
This is because producers will often make the kick the loudest element in the track, and to make it as loud as possible they will use a limiter.
By placing a limiter on your kick channel, you can drive your kick into the limiter, flattening it out into a solid, loud kick. You can then adjust the output of the limiter so that your kick is the loudest element in your mix without it ever clipping.
To achieve this technique you can use a simpler limiter such as pure:limit, because all we’re doing is driving the kick into a limiter.
Check out the image at the top of this section to see the impact using pure:limit on a kick channel can create.
While we’ve touched on mastering earlier on in the article, the depth of the subject means we can’t really dissect the process in its entirety. Plus, if you want to take your first steps into the world of mastering, we’ve already written an article to guide you through that journey. If you just want to quickly get a bit of extra loudness out of your track, though, pure:limit might be your answer.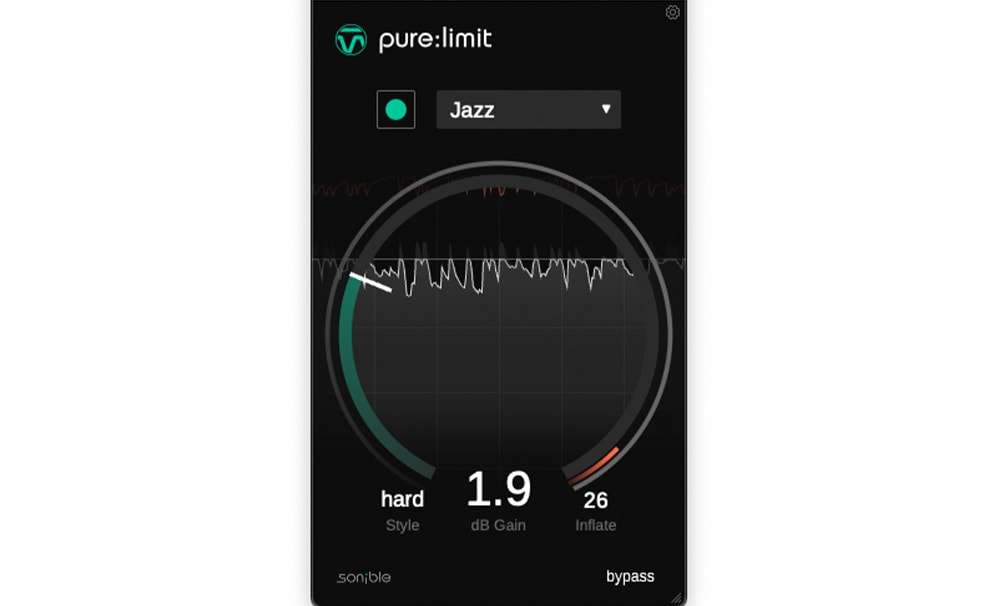 If you’ve just put the finishing touches of your latest creation’s mixdown and are eager to send it out to other artists, radio presenters or record labels, you’ll want to make sure the level and dynamics of the track are going to hold up against other industry standard productions. In an ideal world, you’d send it off to a professional mastering engineer. In reality, that’s not always feasible. In which case, pure:limit will enable you to get your track up to the necessary loudness with just a few clicks. Simply select a Target Profile, tell pure:limit to learn, then bring the Gain up as required.