smart:reverb’s A.I. features will speed-up and simplify your workflow. Get started with the plug-in by learning how to initiate the learning process and use the Reverb Matrix.
Note: We replaced smart:reverb with smart:reverb 2! This content-aware reverb plug-in understands single tracks and entire mixes, helping you create exactly the reverb environment you imagine.
With a single click, smart:reverb will quickly analyze the source material to create every reverb from scratch. By custom-fitting the reverb to the spectral and temporal characteristics of the input signal, typical problems such as disturbing resonances or muddy reverb tails are avoided from the very beginning. Simultaneously, smart:reverb computes a reverb matrix that provides a range of styles for the reverb at hand – each of them tailored to the input signal.
Below you’ll find the video tutorial or step-by-step instructions.
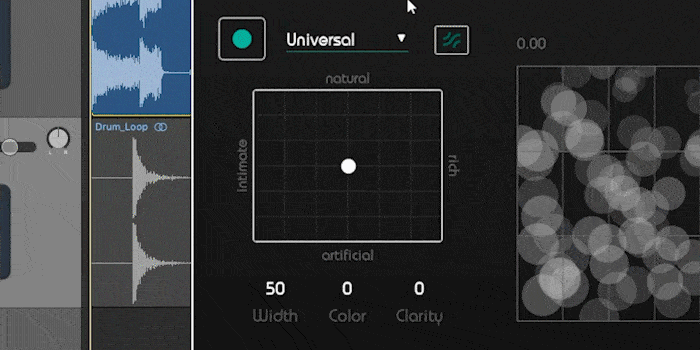 First, smart:reverb needs to analyze your input signal. To prime the processing of the plug-in for your audio source choose a profile. If there isn’t one available that fits your audio track, “Universal” will work well.
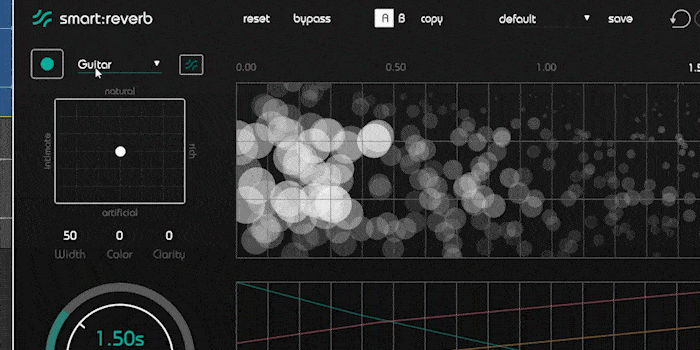
Start the audio playback und click on the record button. smart:reverb will take the characteristics of your input signal and create a reverb that fits your audio track perfectly.
To keep you in the creative flow, smart:reverb comes with a new way of finding the right style of reverb: the Reverb Matrix. It is a parameter space covering different reverb styles. Using XY pad functionality and semantic descriptors, it can be easily and efficiently explored.
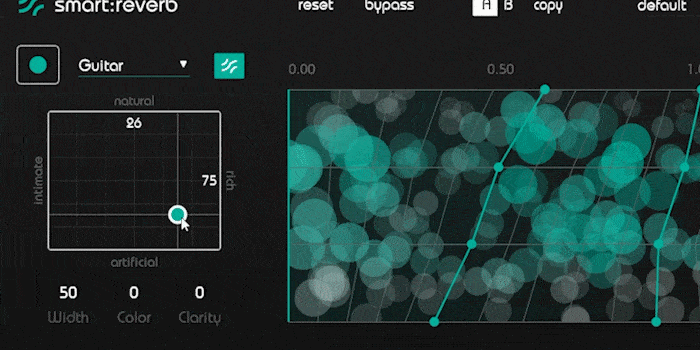
An intimate reverb gives your sound a warm and personal touch. A rich reverb creates a full and multi-layered sound. A natural reverb sounds as if the reverberated signal was recorded in a real environment as the reverb effect is very cohesive and unobtrusive. An artificial reverb does not try to simulate an actual room but rather plays with different reverb characteristics.
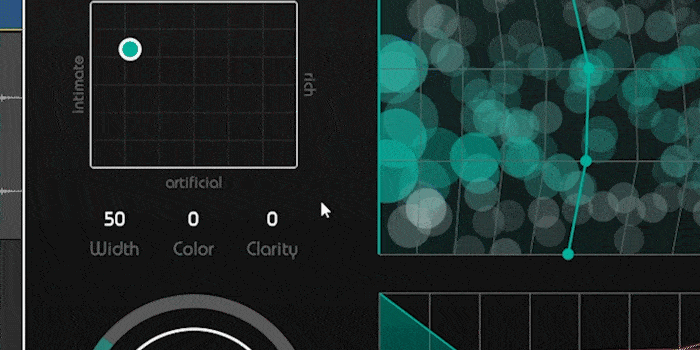
By increasing the clarity value you’ll avoid any masking of direct signal components. This further reduces muddiness and clutter in your tracks.
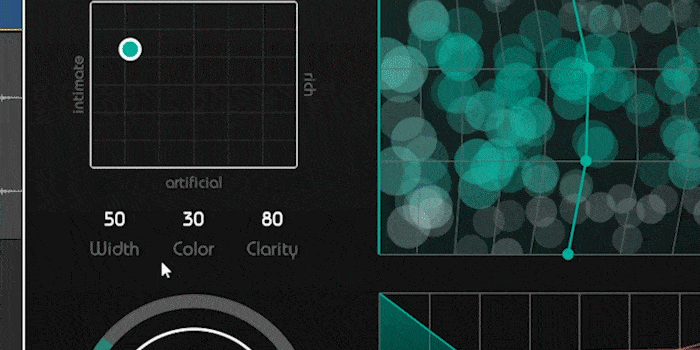
You can also easily control the perceived width of the reverb effect. With higher values you’ll get a more enveloping sound.
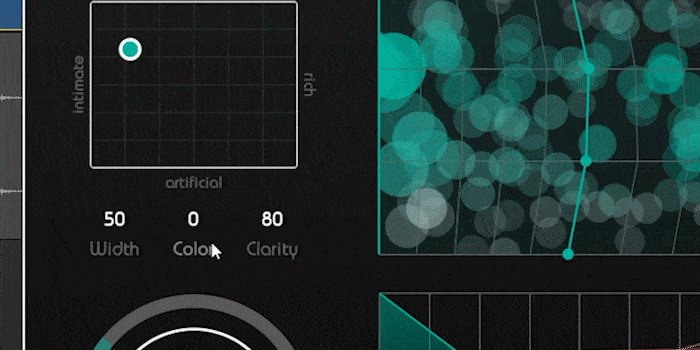
To efficiently change the characteristics of your reverb, try using the color control. Low values cause a darker sound, high values result in a bright sound.
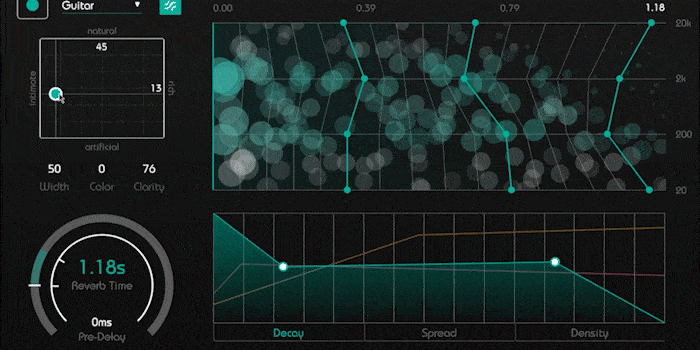
As you make adjustments or play audio, the interactive representation of the reverb’s anatomy will change accordingly in the Particle Display.